There’s a clear reason you must test soil before construction: it reveals whether your site has hazards such as subsidence, collapse or contamination that threaten safety and budgets, and it provides ground parameters that let you design foundations to save costs and extend your building’s life; investing in professional soil testing protects your project timeline,… The Importance of Soil Testing Before Construction
There’s a clear reason you must test soil before construction: it reveals whether your site has hazards such as subsidence, collapse or contamination that threaten safety and budgets, and it provides ground parameters that let you design foundations to save costs and extend your building’s life; investing in professional soil testing protects your project timeline, reduces unexpected repairs and ensures safety for occupants.
Understanding Soil Composition
Types of Soil
You will encounter several common soils on site: sandy and clay are widespread, while silt, peat and loam each behave differently under load; clay swells when wet and can cause differential settlement, sand drains but may liquefy if loose. After you assess these types, commission lab tests to quantify bearing capacity and compressibility.
- Sandy – high permeability, variable bearing capacity
- Clay – low permeability, high compressibility
- Silt – prone to erosion and frost heave
- Peat – very compressible, unsuitable without treatment
- Loam – balanced properties, often ideal after compaction
| Soil Type | Key Characteristic |
|---|---|
| Sandy | Drains quickly; bearing capacity varies with density |
| Clay | Retains water, swells and can cause long-term settlement |
| Silt | Fine particles, susceptible to erosion and frost-related movement |
| Peat | High organic content, very compressible and low strength |
Soil Properties and Their Impact
You must quantify shear strength (undrained cu in clays often 25-150 kPa), permeability (sands >1×10^-4 m/s; clays <1×10^-7 m/s) and friction angle (φ ≈25-40°) to size foundations; low-strength or highly compressible soils typically force you towards deep piles or ground improvement to avoid settlement and instability.
When you translate test results into design, expect specific interventions: CPT or triaxial data showing φ below 28° in sandy layers usually means increased pile length or larger rafts, while consolidation tests predicting several centimetres of primary settlement call for preloading or staged construction; coastal or peat sites often require stone columns or piled rafts to mitigate excessive settlement, and seismic zones demand thorough assessment of liquefaction potential (as observed in notable post‑quake damage cases) to protect your structure.
The Role of Soil Testing
Soil testing informs how your design must respond to subsurface conditions: you use measured values like SPT N‑numbers, CBR percentages and bearing capacities (commonly ranging from 50-300 kN/m²) to size foundations, predict settlement and assess ground improvement needs. When tests reveal high groundwater, contamination or organic layers, you adjust excavation, drainage or remediation plans; conversely, a dense layer with N>30 gives you a positive option for shallow footings, saving cost and programme time.
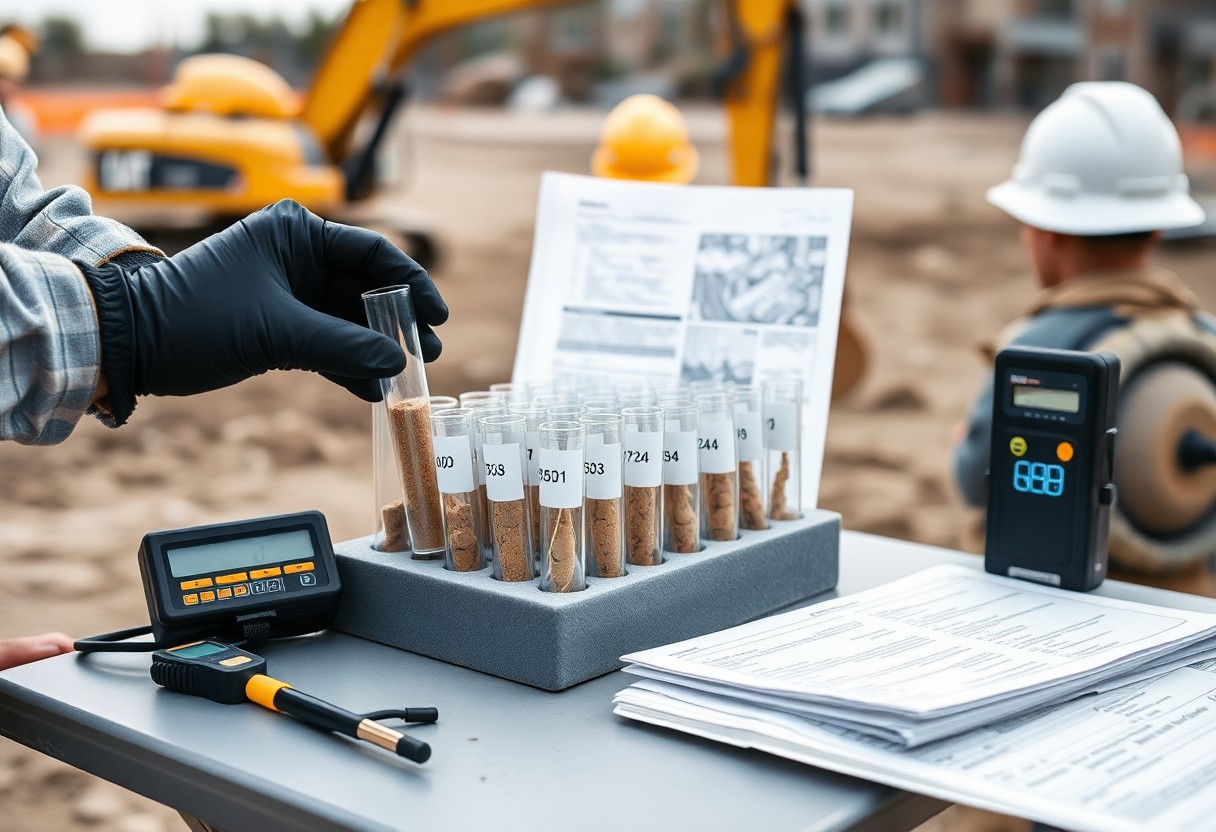
Methods of Soil Testing
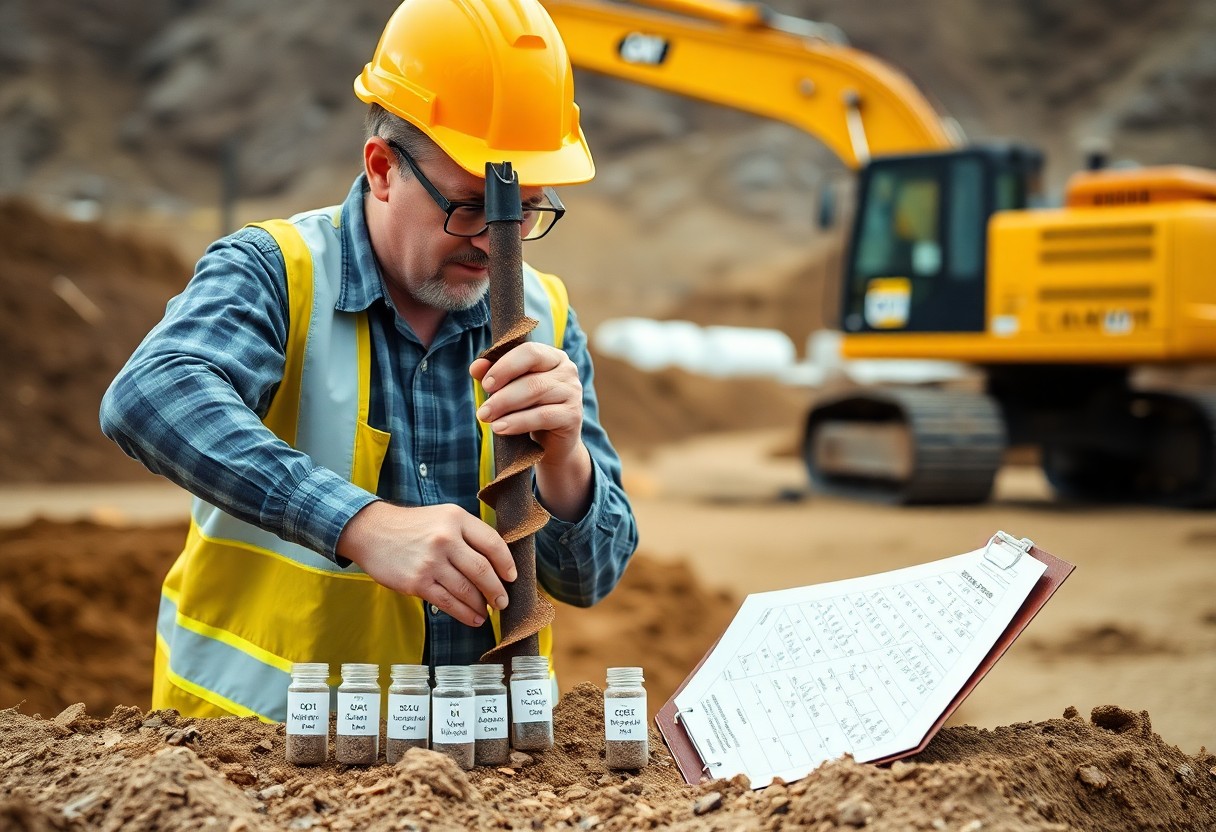
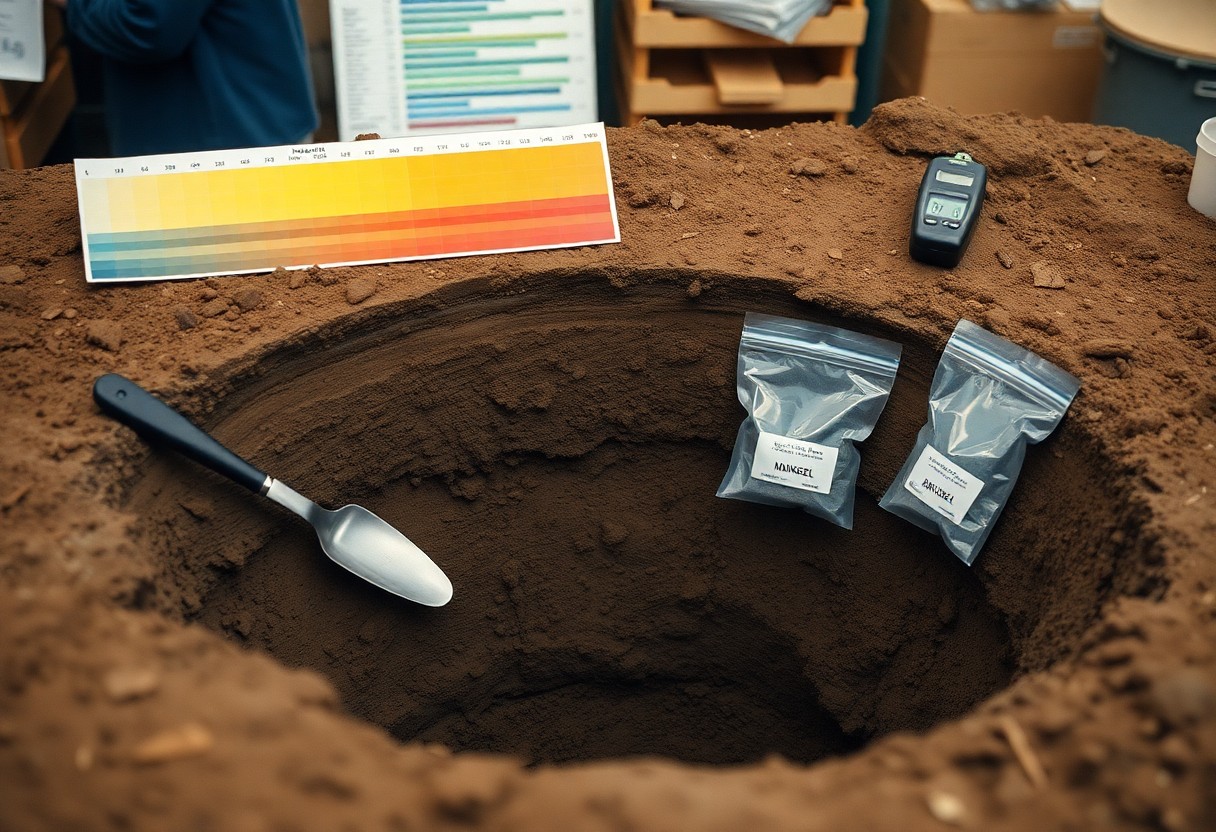
You combine site and laboratory techniques: trial pits and boreholes establish stratigraphy, CPT and SPT give in‑situ strength (CPT often extends to 20-30 metres), while plate load, permeability and groundwater monitoring quantify behaviour. In the lab you run particle size, Atterberg limits, Proctor compaction and CBR tests; for contamination you perform chemical assays. Using several methods reduces uncertainty and highlights dangerous anomalies such as high sulphate or unexpected fill.
Analyzing Soil Test Results
Interpretation converts data into design actions: for example, N‑values below 5 indicate very soft ground needing consolidation or piling, CBR under 3% flags poor pavement subgrades, and liquid limits above 50 signal high plasticity requiring deeper foundations. You should compare results against project specifications and standards, noting that pH around 6-8 is generally favourable while extremes affect concrete durability and steel corrosivity.
Further analysis links test outputs to practical choices: if allowable bearing capacity is 100 kN/m² you plan piled foundations, whereas >150 kN/m² often allows strip or pad foundations; high sulphate or organic content prompts protective concrete mixes or soil replacement, and persistent groundwater may force dewatering or waterproofing-use layered data to justify costed mitigation in your tender documents.
Benefits of Soil Testing
Testing lets you design foundations to soil performance rather than guesswork, often cutting foundation depth or piling by 10-25% when site data show competent layers close to formation. For example, a Midlands housing scheme reduced concrete and steel by 18% after mapping subsoil horizons, saving time and cost. You also gain planning evidence, avoid latent defect claims and improve buildability by identifying soft or compressible layers, high groundwater or contamination before works begin.
Preventing Structural Issues
Identifying expansive clays, peat or weak silts lets you avoid uneven settlement and cracking by informing foundation type, drainage and ground improvement. You should test plasticity index, moisture content and undrained shear strength; values such as a plasticity index over 30% or bearing capacity below 50 kPa flag high risk. Tailoring footings or using piles based on these results prevents repairs that can run into tens of thousands of pounds.
Environmental Considerations
Soil testing uncovers contamination and ground‑gas risks that affect design and legal obligations, so you must sample for heavy metals, hydrocarbons and methane/CO2. Exceeding guideline values often triggers remediation or use restrictions; for brownfield sites, elevated PAHs or lead can require removal or capping. Early detection lets you plan containment, bioremediation or specialist disposal, avoiding remediation costs over £100,000 and planning delays.
Follow a staged approach: desk study, intrusive sampling and 4-12 week gas monitoring to classify risk; methane above 1% v/v or CO2 above 5% v/v typically requires gas protection. You should compare lab results to UK guidance values, budget for capping, vapour membranes or pump‑and‑treat systems, and include contingency sums; acting early often reduces remediation time from months to weeks and limits programme disruption.
Regulatory Compliance and Soil Testing
You must align soil testing with statutory rules such as Eurocode 7 and British Standards (BS 1377); local authorities often demand geotechnical reports before determination. Failure can lead to enforcement notices, project delays and expensive remedial works – a Manchester redevelopment, for example, required piling redesign that added tens of thousands to costs after undetected organic deposits. Good testing informs foundation choice, drainage and utilities routing to avoid structural risk and liability.
Local Building Codes
Your project will be assessed against local building codes and building control guidance; councils typically specify minimum bearing pressures, foundation depths and protection against heave. In clay-rich regions like the Thames basin you may need deeper strip or piled foundations; coastal zones often enforce higher freeboard and flood-resilient groundworks. Typical domestic applications expect at least 2-3 boreholes or trial pits to satisfy building control and insurance requirements.
Permitting Requirements
You frequently need permits beyond planning consent: planning conditions can require a contaminated land risk assessment, and environmental regulators may require permits for waste handling or groundwater discharge. If tests reveal significant contamination or gas (e.g., methane), councils will demand a remediation plan and verification before occupation, exposing you to potential delays and legal penalties if unaddressed. Early liaison with regulators shortens approvals.
Start with a Phase I desk study, followed by a Phase II intrusive investigation where you typically collect soil and groundwater from 4-8 boreholes and take 6-12 laboratory analyses for contaminants such as hydrocarbons, heavy metals and asbestos. Results form a remediation strategy and a final verification report that planning or building control will require; complete documentation often shortens defect liabilities and helps secure insurance and mortgage approvals.
The Cost of Soil Testing
You should expect basic laboratory tests to cost around £150-£400 per sample, while a comprehensive geotechnical investigation with boreholes typically runs between £1,000 and £5,000 for a small to medium site. Unexpected contamination or weak strata can push remedial works into the tens of thousands; avoiding a single foundation failure that could cost £20,000-£100,000 often justifies the upfront expense.
Budgeting for Soil Testing
You should get multiple quotes and budget for the number of samples, investigation depth and specific tests (CBR, Atterberg limits, contamination screening); standard laboratory tests typically cost £50-£200 each. For a typical house allow a contingency of 10-20% and set aside about 0.1-0.5% of the construction value for site investigation to minimise surprises during tender and design.
Long-Term Savings from Testing
You often recover several times the initial outlay by preventing design rework, underpinning or demolition; identifying expansive clay or contamination early can avert repairs costing £15,000-£60,000 on a single dwelling and reduce defects-period claims.
You can also optimise foundation type and depth with reliable soil data, sometimes reducing piling lengths or excavation volumes and saving thousands of pounds on larger projects; insurers may price policies more favourably for tested sites, and contractors will bid more accurately, cutting change orders and programme overruns.
Case Studies
Several projects show how targeted soil testing and geotechnical investigation change outcomes: a 25-storey tower avoided >150 mm differential settlement after peat detection, a 5,000 m² warehouse cut foundation costs by £125,000, and a motorway embankment averted a 120 m slip by identifying a high water table at 2.5 m. You can see how early data reduced risk, shortened programmes and informed remedial choice.
- 1) City tower – boreholes to 12 m found a peat layer; replacing 600 m³ of peat and installing stone columns limited predicted settlement from 180 mm to 30 mm; remediation cost: £350,000; delay: 21 days.
- 2) Distribution warehouse (5,000 m²) – CBR 2% on near-surface silts; switching to shallow piled foundations avoided over-excavation and saved £125,000; SPT confirmed bearing strata at 8 m.
- 3) Motorway embankment – CPT indicated soft clay with high pore pressures; installing toe drains and wick drains reduced consolidation time from 24 months to 6 months, averting a potential 120 m slope failure and an estimated £500,000 loss.
- 4) Housing development – limited site testing missed organic lenses; post-construction differential settlement reached 25-40 mm, triggering remedial underpinning and legal claims totalling ~£220,000.
- 5) Bridge abutment – SPT and lab tests showed dense sand at 7-9 m, permitting shallow spread footings instead of deep piles; saved ~£200,000 and cut programme by 30 days while maintaining design factors of safety.
Successful Projects
On a coastal logistics hub you used comprehensive soil testing (12 boreholes, CPT, oedometer tests) to identify compressible silts; by adopting 0.9 m stone columns and a drained surcharge, final settlement was held to 12 mm, programme stayed on schedule and you avoided an estimated £140,000 in piling costs.
Lessons Learned from Failures
When developers under-sample, you can face unexpected settlement, structural cracking and costly remediation: one mid-rise scheme recorded 40 mm settlement, a 6‑month delay and £350,000 in corrective works after only two boreholes were taken for a 2 ha site.
To mitigate repeat issues you should increase investigation density, include CPT and laboratory consolidation tests, set monitoring regimes and budget contingency; applying those steps often prevents the most dangerous outcomes-slope failure, progressive settlement and extended legal exposure.
Summing up
With these considerations, you ensure your project is built on reliable data: soil testing informs foundation design, identifies contamination, predicts settlement and drainage behaviour, and reduces costly surprises, delays and legal liabilities; by commissioning proper geotechnical investigations you protect your investment, comply with regulations and enable efficient, safe construction.
FAQ
Q: What is soil testing and what does it assess?
A: Soil testing is the systematic investigation of ground conditions to determine physical, chemical and geotechnical properties. Typical assessments include particle size distribution, Atterberg limits, moisture content, density and compaction characteristics, bearing capacity, settlement behaviour, groundwater level and presence of contaminants. Tests may be carried out in situ (for example boreholes, trial pits, Standard Penetration Test, cone penetration test) and in the laboratory (sieve analysis, consolidation, Proctor compaction, California Bearing Ratio, chemical analyses) to provide data for design and risk assessment.
Q: Why is soil testing important before foundation design?
A: Accurate soil data allows engineers to select an appropriate foundation type and size, estimate settlements and load-bearing capacity, and identify requirements for ground improvement. Without test results designers may over‑specify foundations (increasing cost) or under‑design them (leading to excessive settlement or structural failure). Soil testing reduces uncertainty, enabling optimised structural elements, safe load paths and more reliable cost and programme forecasting.
Q: When in the project timeline should soil testing be carried out?
A: Soil testing should start during the feasibility and site appraisal stage to inform site selection and preliminary budgeting. Detailed site investigation is required before final design and tender documents are produced. Additional targeted testing may be needed during construction when exposed conditions differ from initial findings or if unexpected ground is encountered. Early testing minimises design changes, delays and contingency costs.
Q: What specific tests are commonly performed and what do their results indicate?
A: Common tests include: borehole logging and trial pits (stratigraphy and groundwater), Standard Penetration Test (SPT) and Cone Penetration Test (CPT) for in situ strength and density, sieve and hydrometer analyses for particle size, Atterberg limits for plasticity, Proctor compaction for optimum moisture and density, consolidation tests for long‑term settlement, CBR for pavement design, and chemical assays for contamination and corrosivity. Together these results inform bearing capacity, expected settlement rates, drainage behaviour, and any need for remediation or special materials.
Q: What are the risks and consequences of skipping soil testing, and how can issues be mitigated if poor ground is found later?
A: Skipping soil testing increases the risk of differential settlement, structural damage, unexpected ground heave or collapse, prolonged delays and substantial remedial costs, as well as regulatory and insurance complications. If poor ground is discovered later, mitigation measures include foundation redesign (deeper or piled foundations), ground improvement (stone columns, grouting, soil stabilisation), underpinning existing structures, drainage and dewatering, and continuous monitoring. Early engagement of a geotechnical engineer helps to identify cost‑effective remedies and to manage risk through design changes or contingency planning.