
Maintenance is straightforward if you follow a few simple steps: you should sweep regularly, wash stains promptly to prevent oil and tyre marks that can damage the surface, avoid abrasive chemicals and high-pressure settings that might harm the resin, and apply a protective seal every 1-3 years to retain appearance and durability; with sensible upkeep your driveway will remain safe and attractive.
Understanding Resin Driveways
What is a Resin Driveway?
You’ll find resin driveways are made by mixing natural aggregate with a clear or coloured polyurethane resin and laying it at about 15-18 mm over a compacted sub-base or existing concrete. They create a permeable finish that often meets SUDS requirements, typically cure within 24 hours, and come as resin-bound or resin-bonded systems, each affecting texture, grip and longevity.
Benefits of Resin Driveways
You gain a surface that is low-maintenance, UV-resistant and commonly lasts 10-20 years when well installed. Installation is swift-most domestic drives are completed in 1-2 days-and the permeable nature reduces standing water and ice risk; plus you can spot-repair small areas (0.5-1 m²) without replacing the whole drive, saving time and money.
For upkeep, you should sweep regularly and wash with a pressure washer at no more than 120 bar or a hose and stiff brush; avoid petrol, diesel and strong solvents which cause staining and resin breakdown. Select aggregate sizes of 2-6 mm to balance appearance and grip-coarser mixes improve drainage but may need more frequent brushing-and note domestic resin drives are not intended for frequent HGV use.
Factors Affecting Maintenance
Your resin driveway requires varied attention depending on surface slope, sub-base quality and the maintenance schedule you follow; heavy shading leads to moss, alkaline runoff can stain and poor drainage accelerates aggregate loss within 2-5 years. Salt from winter de-icing may erode bonds, while prolonged UV exposure fades colour and weakens the binder. Recognizing these factors helps you plan targeted cleaning, repairs and protective treatments.
- Climate: freeze-thaw cycles, UV and precipitation intensity
- Traffic: vehicle weight, frequency and parking patterns
- Installation quality: sub-base compaction, resin-to-aggregate ratio
- Maintenance: cleaning frequency, stain removal and resealing
Climate Considerations
In regions with frequent freeze-thaw cycles you’ll see cracking and loosening within 2-4 winters if drainage is poor; summer UV can fade colour in as little as 3-5 years without UV-stable resins or a protective seal. If you face heavy rainfall, ensure surface falls of at least 1:80 and clear gutters, since standing water accelerates binder degradation; apply a protective seal every 2-4 years based on exposure to maintain surface integrity.
Traffic and Usage
Where you park and how often will determine wear rates: a single-family driveway with two cars may endure 1-2% aggregate loss annually, whereas frequent delivery vans increase abrasion markedly; driveways used for long-term parking develop oil staining and depressions sooner, so choose a thicker resin layer (25-30mm) for regular heavy use and schedule inspections every 6-12 months.
If you regularly have larger vehicles, note that a typical family car weighs 1.2-2.0 tonnes while light vans often run 2.5-3.5 tonnes; repeated loads above 3 tonnes concentrate stress and will cause rutting unless the sub-base is designed to a depth of 150-200mm and the surface is increased to 25-30mm. Sharp turning by delivery vehicles increases shear and loosens aggregate faster than straight runs, so reinforce parking bays, avoid prolonged parking of heavy vans and treat oil stains within 24-48 hours to prevent binder contamination.
How to Clean Your Resin Driveway
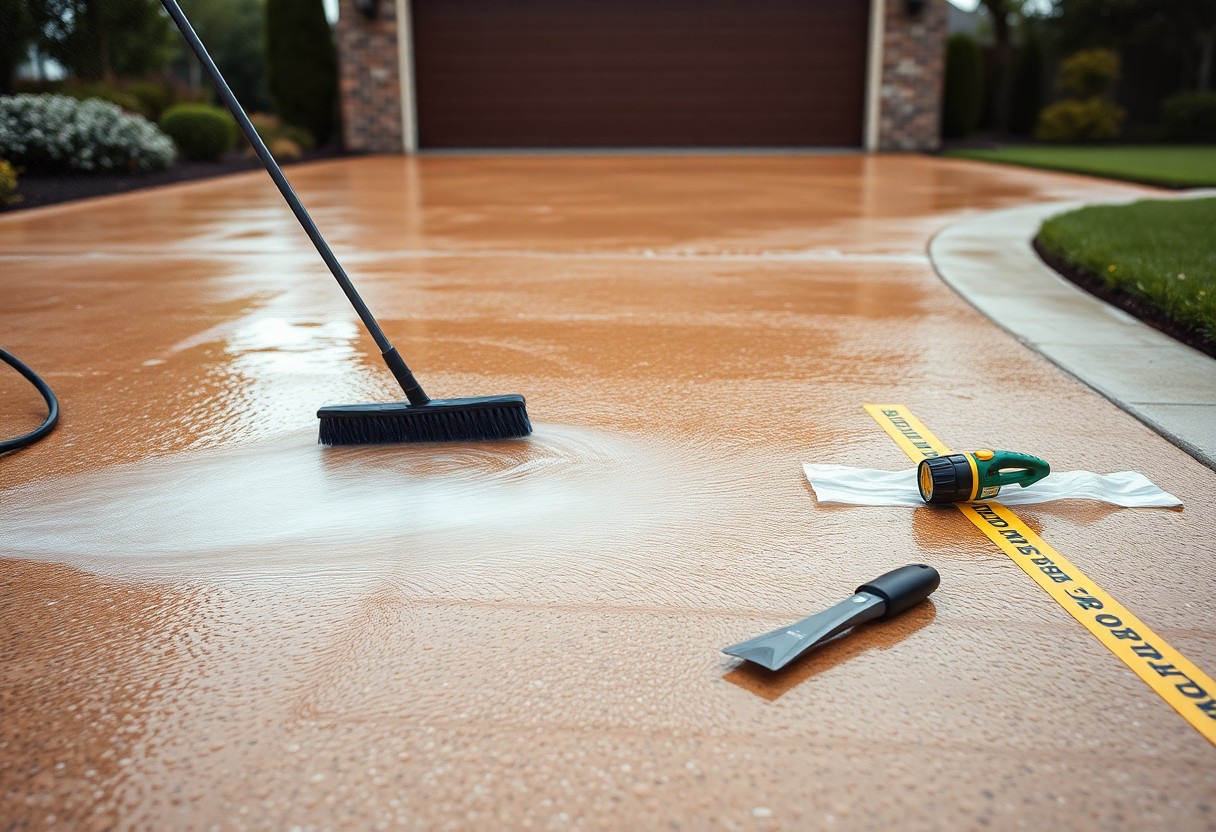
When dealing with spills or organic growth, you should act quickly: treat fresh oil within 24-48 hours and tackle moss before it lifts the resin. Use a resin-safe degreaser for oils and a soft-bristled broom for loose debris, and always test any chemical on a small patch. For heavy soiling, pre-soak and employ a pressure washer on a low setting-keep below 1,200 psi to avoid surface damage.
Essential Cleaning Tools
You should gather a soft-bristled push broom, a leaf blower, a pressure washer with adjustable pressure, a resin-safe degreaser, a stiff nylon brush for local stains, and protective gloves and goggles. Opt for a pressure washer you can set under 1,200 psi and a 25-30 cm brush head for efficiency; metal-bristled brushes will scratch the resin.
Essential Tools
| Push broom (soft bristles) | Clears loose debris without abrading the surface |
| Leaf blower | Quick removal of leaves and grit before washing |
| Pressure washer (adjustable) | Rinses dirt-set to ≤1,200 psi and use a fan nozzle |
| Resin-safe degreaser | Pre-treats oil and grease; test on a small area first |
| Nylon brush (stiff) | Spot cleaning without scratching |
| Gloves & goggles | Protects you from chemicals and spray |
Step-by-Step Cleaning Process
Start by sweeping or blowing debris, then pre-treat oil stains with a resin-safe degreaser and wait 10-15 minutes. Proceed with a pressure washer using a fan nozzle at no more than 1,200 psi, holding the lance 30-40 cm from the surface and working in 1 m strips; finish with light brushing and a thorough rinse, and allow at least 24 hours to dry before light use.
Cleaning Steps
| Step | Action / Timing |
| 1. Clear debris | Sweep or blow leaves and grit (5-10 minutes for a typical driveway) |
| 2. Pre-treat stains | Apply degreaser, wait 10-15 minutes; agitate with nylon brush if needed |
| 3. Pressure wash | Use fan nozzle, ≤1,200 psi, 30-40 cm distance, work in 1 m strips |
| 4. Spot brush & rinse | Lightly scrub stubborn areas and rinse thoroughly |
| 5. Drying | Allow at least 24 hours before light foot or vehicle use |
If a stain persists after one cycle, you should repeat degreasing and wait 30 minutes before re-washing; for moss or algae use a diluted biocide approved for resin surfaces, apply and rinse after 24 hours. Test any method on a 1 m² patch first; many maintenance guides advise two treatments 48 hours apart for deeply embedded grime to achieve near-complete removal.

Tips for Regular Upkeep
Sweep daily or after storms to remove grit and leaves, hose off light dirt and treat oil or fuel spills within hours using absorbent granules and a gentle detergent; avoid high-pressure cleaners above 1500 psi and keep the nozzle at least 30 cm from the surface to protect the resin binder. Knowing weekly inspections and immediate spot cleaning prevent permanent staining and reduce repair costs.
- resin driveway
- sealant
- oil stains
- pressure washing
Preventative Measures
Use rubber pads under heavy planters and wheel stops for frequent parking to avoid indentations, install a permeable membrane under bedding to limit weed growth, and apply a compatible sealant every 2-3 years if your driveway sees regular traffic or strong sunlight; treat spillages immediately and avoid abrasive chemicals that can damage the binder.
Seasonal Maintenance Tips
In spring remove moss and accumulated grit with a stiff brush and a moss inhibitor if needed, in summer monitor for UV fade and consider a protective topcoat, in autumn clear leaves daily to prevent staining and blocked drains, and in winter avoid de-icing salts-use sharp sand for traction instead. Knowing seasonal adjustments reduce long-term wear and help maintain warranty conditions.
- spring: moss control
- summer: UV protection
- autumn: leaf removal
- winter: avoid de-icing salts
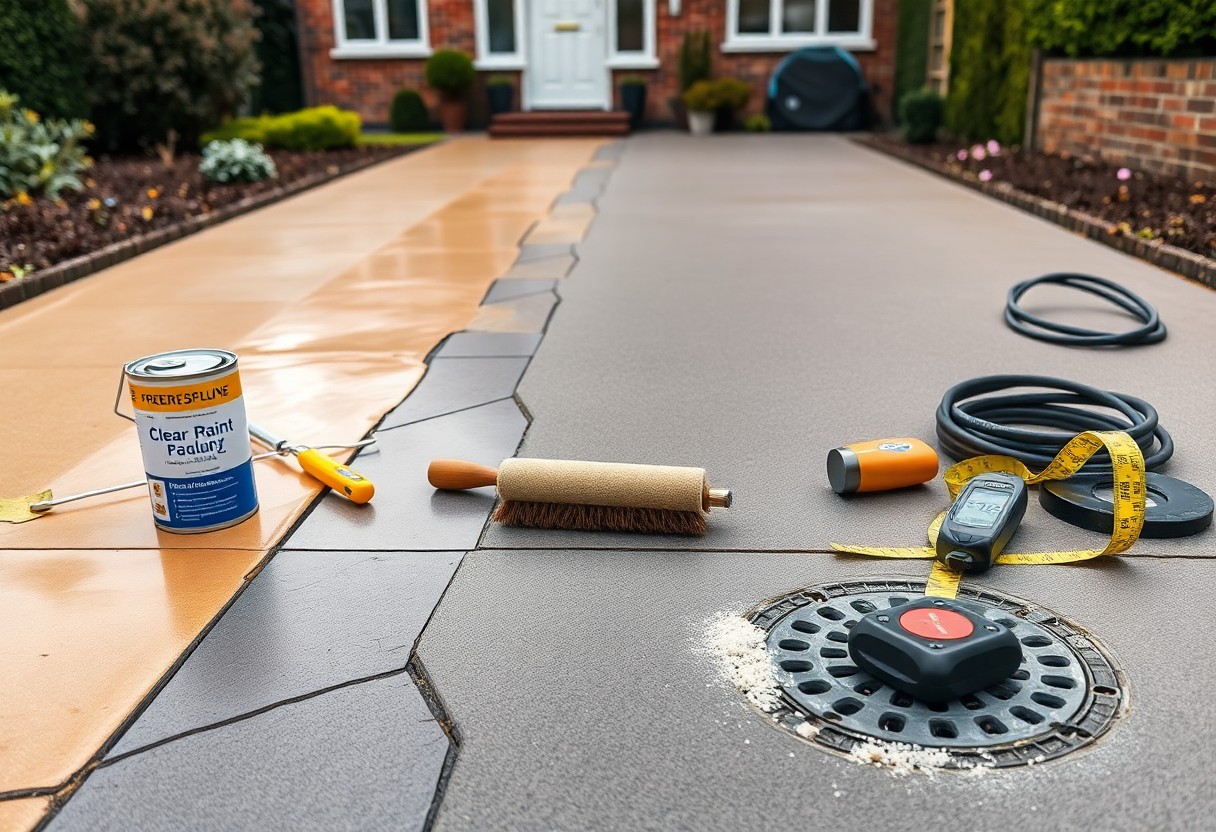
Apply sealant when temperatures are between 10-20°C and the surface is dry, allow 24-48 hours to cure, keep pressure washing below 1500 psi and a 30 cm nozzle distance, inspect edging and joints quarterly, and address loose aggregate within two weeks to prevent deeper failure. Knowing these specific steps helps you avoid costly reinstatements.
- sealant: 10-20°C, 24-48h cure
- pressure wash: <1500 psi, 30 cm distance
- inspection: quarterly
Dealing with Stains and Damage
You should tackle spills and chips promptly: oil can begin to stain within 24 hours and tyre marks set fast. Start by blotting, use absorbent granules for oil, then consult a trusted guide such as How to clean a resin driveway properly for step-by-step cleaning. For anything beyond surface marks, arrange repairs before damage spreads.
Common Stains and Their Solutions
Oil and grease are the most frequent problems: you should sprinkle oil absorbent or cat litter and leave for 12-24 hours before sweeping and washing with warm detergent. Tyre marks respond to a degreaser and gentle scrubbing; algae and moss need a diluted biocide and soft brush, followed by low-pressure rinsing to avoid lifting the resin. Paint or solvent spills require immediate action and may need professional removal.
Repairing Minor Damage
Small chips and shallow scratches are usually fixable with a matching resin repair kit; clean the defect, remove loose aggregate, then apply the repair resin and level with a spatula. Work in temperatures above 5°C, and allow at least 24 hours for initial cure; avoid heavy traffic until the repair has set to prevent further lifting.
You should mix the two-part resin per the manufacturer’s instructions, press in matching aggregate for texture, compact firmly and feather the edges to blend; pot life is short, so plan small batches and work in sections. Expect full mechanical strength in 48-72 hours, with light use after 24 hours. If damage exceeds 10-15 mm depth or affects over 10% of the surface, get a professional repair to protect warranties.
Enhancing Durability
To extend your resin driveway’s life – typically 15-25 years with proper upkeep – target UV damage, petrol and oil staining, and sub‑base movement; avoid parking vehicles over 3.5 tonnes and clear spills immediately. For a practical maintenance checklist consult 5 Key Steps to Keeping Your Resin Driveway Beautiful for Years, and plan sealant reapplications every 3-5 years to retain colour and wear resistance.
Protective Sealers
Apply a UV‑stable sealer rated for vehicular use to reduce abrasion and fading; many water‑based sealers cure within 24 hours and provide protection lasting around 3-5 years. You should choose a product compatible with resin bound or bonded surfaces, apply on a dry day between 5-20°C, and test an inconspicuous area first; improper choice can lead to surface gloss loss or patchy colour.
Engaging Professional Help
Hire an installer who offers written guarantees, public liability insurance and local references; experienced teams will control the resin‑to‑aggregate ratio and achieve the correct finished depth (typically 4-6mm for resin bound). By using a reputable contractor you reduce the risk of premature failures, and many firms provide a workmanship warranty of around 5 years.
Ask detailed questions about sub‑base specification – for example Type 1 crushed aggregate compacted to a high standard – and whether primers, edge restraints and drainage were included in the quote. If preparation is inadequate you may see movement or delamination within two years; conversely, correctly prepared drives with good drainage and edge detail often exceed 15 years without major repairs.
Conclusion
Considering all points, you should sweep and wash your resin driveway regularly, clear weeds and debris, treat oil and stains promptly with suitable cleaners, avoid heavy parking on new surfaces, maintain good drainage, repair cracks as they appear and reapply sealant every few years; consistent inspections and timely maintenance will keep your driveway safe, attractive and long‑lasting.
FAQ
Q: How often should I clean and inspect a resin driveway?
A: Sweep or use a leaf blower weekly to remove leaves, grit and debris. Wash the surface once or twice a year with a low‑pressure washer or a hose and soft rotary brush using a mild, pH‑neutral detergent or a cleaner recommended by the driveway manufacturer. Keep the nozzle at least 30 cm from the surface and avoid aggressive nozzles. Inspect the edges, joints and surface annually for signs of wear, pooling water or loose aggregate so small issues can be dealt with promptly.
Q: What is the best method for removing oil, petrol and tyre marks?
A: Act quickly with fresh spills: blot excess with absorbent material (cat litter or paper) and remove it. For remaining deposits use a water‑based degreaser or a specialist resin‑safe oil remover, apply, agitate gently with a soft brush and rinse thoroughly. For stubborn or old stains, poultices or proprietary stain removers formulated for resin surfaces often work better than solvents; avoid acetone or strong solvents unless the manufacturer confirms they are safe, as these can damage the resin or affect colour.
Q: How should I deal with weeds, moss and algae on a resin surface?
A: Remove growth mechanically first by pulling or using a stiff brush. Treat persistent regrowth with a suitable systemic weedkiller applied carefully to avoid surrounding planting, or use a biocidal moss/algae cleaner specified as safe for resin surfaces. After treatment, lightly pressure wash on a low setting. Improve drainage and trim overhanging foliage to reduce moisture and shading, which encourage moss and algae.
Q: What repairs can I do myself and when should I call a professional?
A: For minor scuffs, small chips or loose stones, clean the area, allow it to dry, and repair using a matching resin repair kit or filler supplied by the installer; follow the kit instructions and cure times. For subsidence, significant cracking, large patches of loss, or problems with the base layer, contact the original installer or a qualified contractor, as these require lifting and re‑laying or base repairs to ensure a durable fix.
Q: How should I protect my resin driveway in winter and from heavy loads?
A: Clear snow with a plastic shovel or brush and use sharp sand or grit for traction rather than rock salt, which can stain or accelerate deterioration. Avoid prolonged parking of heavy vehicles, plant pots or machinery in the same spot; if heavy loads are unavoidable, lay plywood or temporary load‑spreading boards beneath wheels or feet. Follow any manufacturer guidance on resealing or top‑coat maintenance if the surface shows wear from frequent heavy use.