
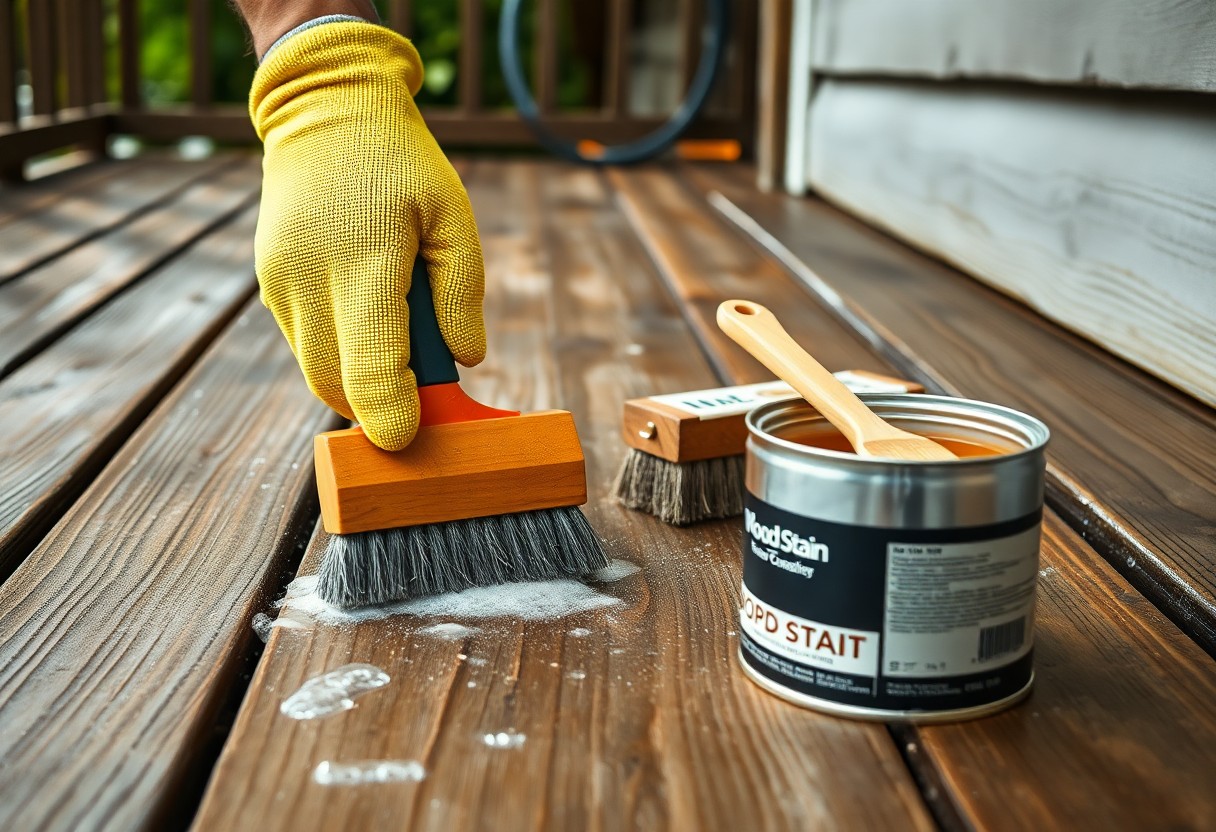
Most of the time you should inspect your wooden decking regularly to prevent rot and slips, then sweep and wash to remove debris and algae. You should sand and apply a quality sealer annually, replace any soft or splintered boards, and tighten or replace rusting fixings. Timely care preserves appearance and reduces costly repairs.
Maintenance starts with regular cleaning and inspection: you should sweep and wash away debris, and check for rot, loose boards and protruding nails to avoid structural failure. Treat mildew promptly and be wary of slip hazards when wet. Use gentle cleaning methods and avoid high-pressure washing that can damage fibres. Protect your timber by sanding and applying a suitable weatherproof sealer annually, and always wear gloves and eye protection while you work.
How to Assess Your Wooden Decking
When you assess your decking, check board alignment, joist condition and drainage; measure gaps between boards (gaps larger than 5 mm often indicate shrinkage or movement) and note areas where water pools for more than 48 hours. Probe suspect timber with a screwdriver-if it sinks easily you likely have rot. Take photos and mark coordinates so you can track deterioration across seasons and plan targeted repairs.
Inspecting for Damage
You should look for loose fixings, popped nails, split or warped boards and unstable balustrades; any handrail that moves under firm pressure is dangerous and must be secured. Replace rusted nails with 40-60 mm stainless steel screws, tighten joist hangers and note any board ends that lift more than 5 mm, which often signals joist or fastening failure.
Identifying Signs of Wear
You will often see faded grey surfaces, raised grain, surface mould and splintering as common signs of wear; UV exposure can cause greying within 3-6 months on untreated timber. You should also watch for soft spots, spongy areas and blackened patches at board ends-these are indicators of decay. Log the extent of discolouration and where algae accumulates, as shaded, north‑facing sections usually degrade faster and need more frequent maintenance.
You should probe joist ends and the underside of boards to confirm wear; if a screwdriver penetrates more than 5 mm or you notice fibres separating, schedule replacement. Test span performance by standing mid‑span on a 2.4 m board-excessive bounce or persistent creaking indicates joist weakening. Also inspect for rust stains around fasteners, as corrosion at contact points commonly precedes structural failure and demands swift attention.
Understanding Wooden Decking
Types of Wood Used for Decking
You’ll commonly choose between pressure-treated pine, stable softwoods like Western Red Cedar and dense tropical hardwoods such as Ipe; expect roughly 15-20 years for treated softwoods with routine care and 25-50+ years for well-maintained hardwoods, while board stability, tannins and local climate will determine staining and fading. After you match the species to your budget and exposure, plan maintenance accordingly.
- Pressure-treated pine
- Western Red Cedar
- Douglas Fir
- Ipe (tropical hardwood)
| Wood | Characteristics |
| Pressure-treated pine | Affordable, susceptible to rot if neglected, 15-20 years with care |
| Western Red Cedar | Stable, natural rot resistance, mild aroma, 15-25 years |
| Douglas Fir | Strong, often used structurally, needs preservative treatment |
| Ipe (tropical hardwood) | Extremely dense, long service life, higher upfront cost |
Key Factors Affecting Deck Longevity
Your deck’s life hinges on moisture management, correct fastening and ventilation, finish schedules and insect exposure; UV causes greying within 6-12 months if unprotected and trapped damp can accelerate decay. After you set a cleaning, inspection and reseal routine, deterioration slows markedly.
- Moisture control
- UV protection
- Correct fixings
- Regular maintenance
Specific installation and service details matter: use joist centres of about 300mm for softwoods and 400mm for hardwoods, leave ~5-8mm board gaps for drainage and expansion, and recoat oil or stain every 2-3 years; annual inspections reduce unseen decay and loose nails. After you optimise spacing, drainage and finish cycles, service life routinely increases by decades.
- Joist spacing (300-400mm)
- Board gap (~5-8mm)
- Recoat every 2-3 years
- Ensure ventilation
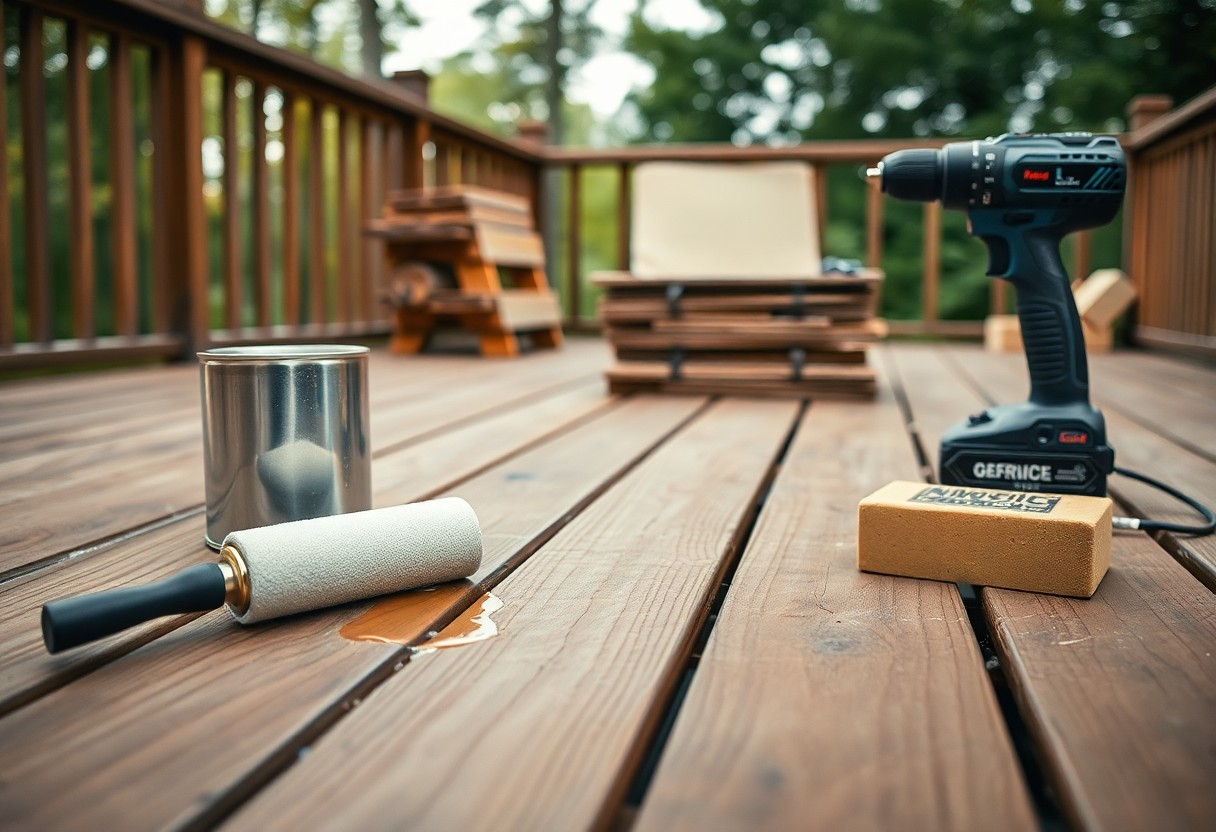
How to Clean Your Wooden Decking
Recommended Cleaning Solutions
You can use a mild non‑ionic detergent or a dedicated deck cleaner; for biological growth an oxygen bleach (sodium percarbonate) diluted 1:10 is effective and gentler than chlorine. Apply a TSP substitute following the manufacturer’s ratio for heavy staining, and avoid acidic cleaners on softwoods. Protect plants and metal fittings with tarpaulin, and test any solution on a hidden board for 24 hours to check for discolouration.
Cleaning Techniques and Tools
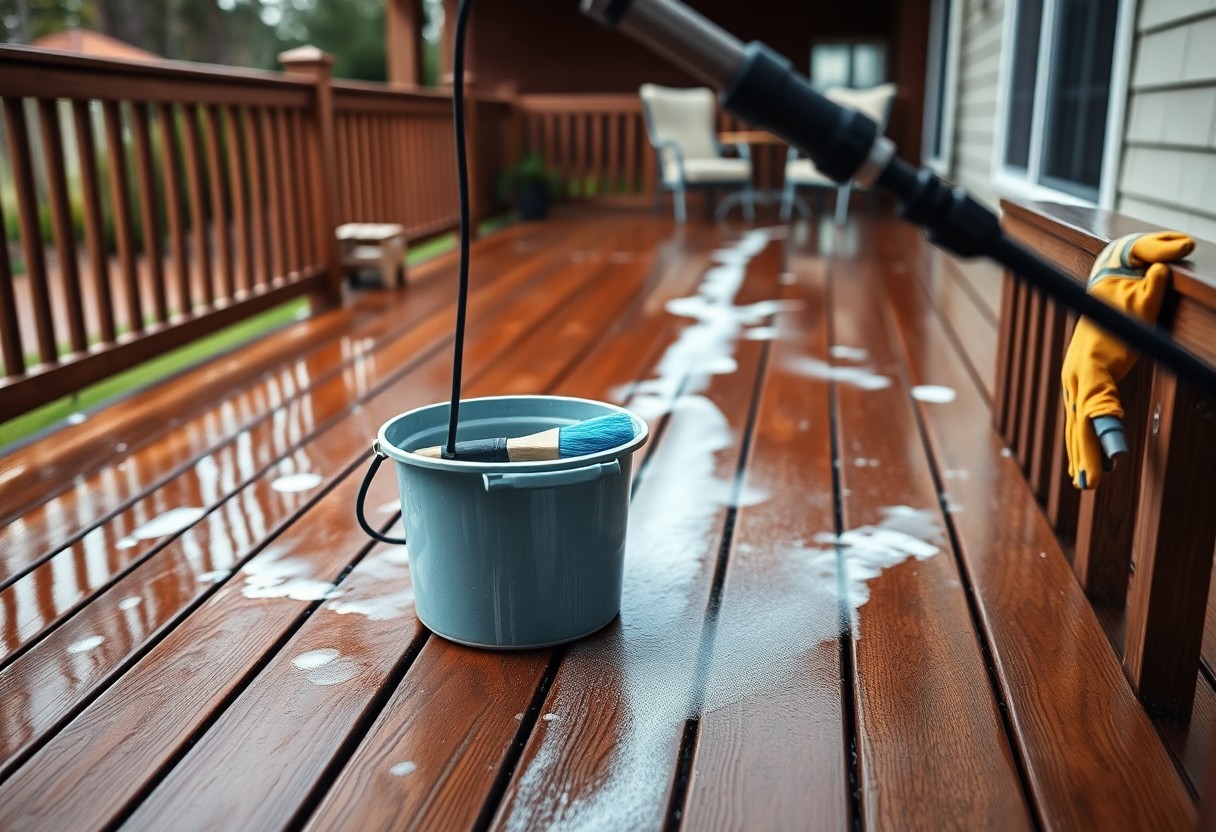
Start by sweeping, then apply cleaner with a pump sprayer and agitate with a stiff nylon deck brush or broom, always working along the grain. If you use a pressure washer keep settings to about 1,200-1,500 psi and maintain a 25-30 cm distance with a 25-40° fan nozzle; this removes dirt without tearing fibres. Never use metal‑bristle brushes or exceed recommended pressure to avoid surface damage.
Follow a simple sequence: sweep, test, apply cleaner, wait 5-10 minutes, scrub along the grain, then rinse thoroughly and allow 24-48 hours drying before applying sealant. For oil stains pre‑treat with a degreaser or dish soap and absorbent (sawdust or cat litter), then scrub; for persistent mould repeat oxygen bleach treatment. Wear gloves and eye protection to safeguard your skin and eyes during the process.
How to Clean Your Wooden Deck
Necessary Cleaning Supplies
You’ll need a stiff broom, a nylon-bristled deck brush, a bucket, garden hose, and a pressure washer set to low (1200-1500 psi) for stubborn grime; choose an oxygen-based deck cleaner or diluted non-chlorine solution per label, plus protective gloves and goggles. Add a plastic scraper for old paint, a hand sander for isolated rough spots, and a moisture meter to confirm the deck is dry before sealing.
Necessary Cleaning Supplies
| Stiff broom / nylon brush | Remove leaves, grit and loose dirt |
| Pressure washer (1200-1500 psi) | Rinse and lift ingrained dirt – use at low setting |
| Oxygen-based deck cleaner | Safer stain and mould remover; follow dilution on label |
| Protective gloves & goggles | Protect skin and eyes from cleaners and spray |
| Plastic scraper & hand sander | Remove paint/roughen fibres for refinishing |
| Moisture meter | Confirm under 18% moisture before sealing |
Step-by-Step Cleaning Process
You should sweep thoroughly, clear gaps and remove plant pots, then apply cleaner section by section and let it dwell 10-15 minutes; scrub along the grain with a brush, rinse with a hose or pressure washer at low power from 25-30 cm distance, and allow the deck to dry 24-48 hours (use a moisture meter to verify under 18%) before any sanding or sealing.
Step-by-Step Cleaning Process
| 1. Sweep & clear | Remove debris and furniture to expose the whole surface |
| 2. Pre-treat stains | Use dish soap or oil cleaner on grease; test on a 10×10 cm patch |
| 3. Apply cleaner | Work in 2-3 m² sections; follow product dilution and dwell time |
| 4. Scrub & rinse | Scrub along the grain; rinse with hose or low-pressure washer |
| 5. Dry & inspect | Let dry 24-48 hours; check moisture and look for stubborn spots |
| 6. Sand & seal if needed | Sand raised fibres and apply treatment only when moisture is low |
For stubborn mould or deep stains you can repeat treatment or use a specialised remover; after cleaning, you should sand any raised fibres with 80-120 grit, then test a small area with your chosen sealer – trials often show better adhesion if you wait a full 48 hours in damp climates and ensure deck moisture reads below 18% before applying finish.
How to Protect Your Wooden Decking
You should prioritise ongoing protection by choosing products that provide UV protection and waterproofing, reseal every 2-3 years and treat mould or stains promptly; see the practical DOs and DON’Ts of Wooden Deck Care. A quality stain typically covers 8-12 m² per litre and applying two coats can extend service life by 12-36 months.
- Sealant choice
- Surface preparation
- Regular cleaning
Perceiving the difference between oil-based and film-forming products helps you avoid trapped moisture and premature peeling.
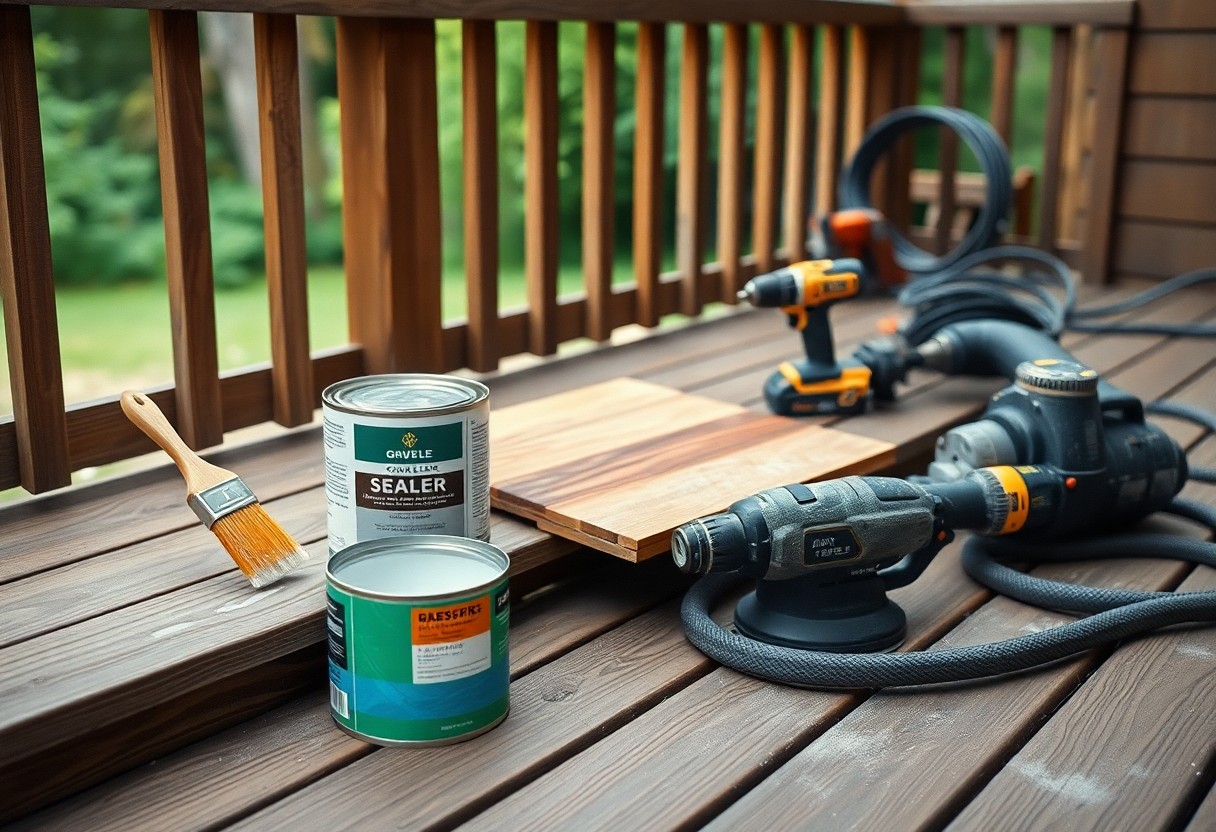
Choosing the Right Sealant
You should match product type to timber: penetrating oil for softwoods and porous hardwoods, film-forming stain for stronger colour retention; select a preservative if rot risk exists. Expect coverage of 8-12 m² per litre, plan on two thin coats and allow 24-48 hours drying at 10-25°C. Trial a hidden plank to confirm final colour and absorption before treating the whole deck.
Application Tips for Longevity
Begin with a deck cleaner and a stiff brush, sand raised fibres with 80-120 grit, then use low-pressure rinsing to avoid fibre damage. Apply two thin coats with a brush or roller, observe drying time of 24-48 hours between coats and keep temperature in the 10-25°C range; proper ventilation reduces tackiness. Use sanding, two coats and correct drying as simple checks for a durable finish.
More detail: after sanding, remove dust with a vacuum and tack cloth, use a deck brightener when reviving greyed wood, and expect high-traffic areas to need recoating every 12-18 months; thin oil applied with a garden sprayer gives even penetration while a natural-bristle brush improves control.
- Vacuum dust removal
- Deck brightener
- Recoat interval 12-18 months
Perceiving local climate and sun exposure will help you set sensible recoat intervals and pick the right product.
How to Protect Your Deck
Focus on sealing, correct staining and regular cleaning to prevent UV damage, mould and rot; a good regime can extend service life by several years. For most timbers plan for reapplication: clear sealants every 12-24 months, semi‑transparent stains every 2-4 years and solid stains every 4-6 years. You should also keep gaps clear of debris and remove algae promptly to avoid slippery, hazardous surfaces.
Choosing the Right Sealant or Stain
Pick based on wood and exposure: cedar and redwood respond well to semi‑transparent stains that offer pigment and UV blocking, while pressure‑treated pine benefits from oil‑based penetrating sealants. Expect coverage of roughly 8-12 m² per litre for penetrating oils; choose semi‑transparent if you want grain visible, solid stains if you need maximum colour and hide for weathered boards.
Application Techniques for Best Results
Aim to apply when temperatures are between 10-25°C and wood moisture is below 15-20%; avoid rain for 24-48 hours. Use a sprayer for speed but always back‑brush or roll to work product into the grain, apply thin even coats and follow manufacturer coverage rates to prevent peeling and trapped moisture.
When preparing, clean with a deck cleaner or sodium percarbonate, rinse and neutralise with a brightener; test a small area to confirm absorption and colour. Work with the grain, maintain a wet edge to avoid lap marks, and seal end grain as it absorbs far more liquid – this protects against splitting and accelerated weathering.
How to Maintain Your Wooden Decking Seasonally
Seasonal Care Checklist
Spring: wash and inspect for winter damage, pressure-wash at around 1,200-1,500 psi and sand with 80-120 grit if fibres lift. Summer: sweep weekly, oil or stain sun‑exposed boards every 6-18 months depending on species. Autumn: clear leaves and debris to prevent fungal growth and check drainage channels. Winter: secure loose furniture and fastenings, and during heavy frost check for raised boards. Aim for a full clean and inspection at least twice a year.
Timely Repairs and Maintenance
Inspect your deck monthly and after storms; tighten or replace fastenings with stainless or hot‑dip galvanised screws rather than nails to avoid withdrawal. Swap any board with more than 20% soft or springy area or visible black rot, and treat exposed end grain with preservative. Smaller splits can be filled with epoxy; larger structural damage requires board or joist replacement. Acting promptly prevents water ingress and reduces repair costs by up to half compared with delayed work.
For structural issues, probe joists with a screwdriver-if more than 30% section is compromised, sister a new joist or replace it; ensure the ledger is solid and flashed to the house to avoid hidden decay. Use epoxy consolidants for shallow rot (extending life by 1-3 years) but replace deep decay. Maintain 3-6 mm board gaps for drainage and ventilation, and document repairs with dates and photos to monitor recurring problems.
How to Repair Common Deck Issues
Identifying Damage
When assessing your deck, probe boards and joists with a 6mm screwdriver and press down-soft spots indicate decay. Look for blackened or spongy timber, mould, splits wider than 3mm, and raised nails; check for movement by walking across and noting any sagging or bounce greater than 10mm. If you spot frass or tunnels, termite attack demands immediate action, and rotted joists beneath boards are the most dangerous defect to address.
Repair Techniques for Various Problems
If you have split or cupped boards you can plane and sand small defects, but replace boards when splits exceed 20% of the board width. Tighten or swap corroded fixings for stainless steel screws spaced about 300mm apart. Treat minor decay with a borate preservative then epoxy consolidation; cut out rot at least 50mm into sound wood. For weakened joists, sister a new timber alongside using M8 stainless bolts every 300-400mm and structural adhesive.
When replacing a board, remove old fixings, lift the damaged board and cut the new board to fit with a 3-5mm expansion gap at each end. You should pre-drill and fix with 40-50mm stainless decking screws at roughly 300mm centres, countersinking where needed. For small rot spots apply borate, consolidate with epoxy and fill to restore strength, but always verify joist integrity before finishing the repair to ensure ongoing safety.
Tips for Preventing Future Damage
You should sweep your wooden decking weekly, clear leaves and debris, trim vegetation within 50 cm, and direct downpipes away from joists; reseal with oil or semi-transparent stain every 2-3 years, tighten or replace loose stainless steel fixings within 48 hours, and probe suspect boards with a screwdriver to find hidden rot. Use a gentle pressure wash under 1200 psi to avoid fibre damage. After reviewing The Dos and Don’ts of Deck Maintenance – Bob Vila you can prioritise repairs based on your deck’s condition.
- Weekly sweeping to prevent trapped moisture and mould growth
- Seal every 2-3 years depending on exposure and product lifespan
- Immediate repairs-replace or fasten loose boards within 48 hours
Effective Weatherproofing Strategies
Apply a penetrating oil or semi-transparent stain with a water-repellent preservative and UV inhibitors, flash ledger joins with corrosion-resistant flashing, seal end-grain cuts promptly, and only apply treatments when temperatures exceed 10°C with at least 24-48 hours of dry weather to ensure a proper cure; these steps reduce water ingress and UV breakdown.
Regular Upkeep Practices
Sweep weekly, wash annually with a mild detergent or dedicated deck cleaner, pressure wash at under 1200 psi if needed, inspect fasteners and joists every 6 months, and replace boards showing more than 20% surface rot or springy deflection; consistent checks limit larger structural fixes.
When you inspect, probe suspect boards with a screwdriver-soft wood or cavities indicate decay; check beneath the deck for pooling, verify ledger flashing remains sealed, and log repairs with dates and photos so you can track deterioration over years; scheduling semi-annual checks often extends a deck’s life by several years and can significantly reduce urgent spring repairs in colder regions.
Essential Maintenance Tips
Maintain your wooden decking by scheduling at least two deep cleans a year-spring and autumn-and inspect every 6 months for loose fixings, raised boards and rot; use a stiff brush or low-pressure washer (≤1,200 psi) to avoid fibre damage, treat heavy mould with a 50:50 bleach solution or bio-cleaner, sand with 80-120 grit and reapply a protective sealer every 2-3 years for most timbers. Any damaged boards with more than 20% decay should be replaced immediately.
- Cleaning: you should deep clean twice yearly
- Sealing: you should reapply every 2-3 years
- Staining: recoat after 2-4 years depending on UV exposure
- Deck maintenance: inspect fixings and joists every 6 months
- Wooden decking: replace boards with >20% rot
Seasonal Maintenance Checklist
In spring you should clear debris, wash with a mild detergent and check for mould and loose screws; during summer inspect for UV fading and re-oil softwoods, while autumn requires leaf removal and gutter clearing to prevent trapped moisture; in winter move planters off boards, use a plastic shovel and avoid chloride de-icers that accelerate corrosion of fixings – log dates and photos to track wear.
Long-Term Care Strategies
Plan sanding and recoating intervals by species: softwoods often need attention every 1-2 years, hardwoods every 3-5 years; leave deck gaps of about 5-8 mm for drainage, use stainless steel (A4) fixings to prevent staining, and choose rot-resistant species like Ipe or cedar where budget allows-budget for replacing roughly 5-15% of boards per decade to extend life to 15-25 years.
You should track moisture with a meter and keep timber moisture below 18% to reduce fungal risk; favour penetrating oils that let the grain breathe for most timbers, restrict pressure washing to ≤1,200 psi with a 25° nozzle, and use case-study data: a UK homeowner who resealed every 3 years and replaced ~10% of boards over 20 years preserved structural integrity and reached a 22‑year service life with minimal major repairs.
Factors Affecting the Life of Your Wooden Decking
Moisture, sunlight and use combine to determine your decking life; for example, untreated softwood often lasts 5-10 years outdoors, while pressure-treated timber commonly reaches 15-30 years with maintenance and dense hardwoods like Ipe can exceed 25 years. You must consider layout, drainage and ventilation to avoid rot and structural failure.
- Climate and exposure (environmental influences)
- Species and material quality
- Finish and maintenance frequency
- Installation, drainage & ventilation
- Pest and fungal pressure
Environmental Influences
In wet or shaded locations you’ll see faster decay: repeated dampness drives mould and wood rot, while intense UV causes surface breakdown and colour loss in months; coastal sites add salt spray that accelerates metal corrosion and fibre breakdown. You can mitigate risk with spacing for airflow, annual cleaning, and UV-stable finishes; in regions with over 1,000 mm annual rainfall plan for shorter maintenance intervals.
Material Quality Considerations
If you pick low-grade sawn softwood you’ll need to reseal every 1-3 years and expect earlier replacement, whereas tanalised or high-density hardwoods demand less intervention and resist wear-hardwoods often show less than 1 mm/yr of wear under normal use. You should check preservative treatment, board thickness (25-28 mm typical), and grading to assess longevity.
Higher-density species like Ipe or European oak resist impact, abrasion and insect attack far better than budget softwoods; composites deliver 20-30 years of service with minimal sealing but can trap moisture at junctions. You ought to specify kiln-dried, graded boards, correct fastening (stainless steel near salt) and consider sacrificial elements like replaceable fascia to extend the whole deck’s life. Assume that, without appropriate material selection and siting, a soaked softwood deck can fail within a decade while a well-chosen, maintained hardwood or composite often surpasses 25 years.
Summing up
Now you can keep your wooden decking in top condition by sweeping and washing regularly, treating and sealing annually, inspecting and repairing loose boards or fastenings promptly, trimming nearby plants, and avoiding standing water; these simple, consistent steps will extend the life and appearance of your deck.
Final Words
Hence you should maintain your wooden decking by sweeping and washing regularly, removing debris and algae, and treating the wood with an appropriate sealer or stain every few years; inspect and tighten fasteners, replace damaged boards promptly, sand rough spots to prevent splinters, ensure good drainage and airflow beneath the deck, and follow manufacturer guidance for products to prolong life and safety.
FAQ
Q: How often should I clean my wooden decking?
A: Sweep debris and leaves at least once a week to prevent moisture build-up and staining. Wash the decking with a mild detergent or a purpose-made deck cleaner every month during the warmer months, and perform a deep clean with a deck cleaner or oxygen bleach once a year. Use a stiff brush or a low-pressure washer (test on an inconspicuous area first) and always allow the deck to dry completely before applying any treatments.
Q: What is the best way to remove mould, algae and stains?
A: For mould and algae, apply an oxygen-based bleach or a specialised fungal cleaner, scrub with a stiff brush along the grain and rinse thoroughly. For oil and grease stains, use a degreaser or a poultice followed by warm soapy water; persistent stains may require light sanding. Avoid strong chlorine bleach near plants and metal fixings; always protect surrounding vegetation and rinse well. Allow the decking to dry fully for 24-48 hours before resealing.
Q: When and how should I sand and reseal or restain the deck?
A: Inspect the finish annually; if water no longer beads on the surface, or the finish peels and fibres lift, plan to sand and recoat. Lightly sand loose or weathered areas with 80-120 grit paper to open the grain, remove dust and apply a breathable, penetrating oil or microporous stain suited to your timber. Apply two coats where recommended by the manufacturer, in dry weather and at temperatures above the product guidance. Hardwoods and pressure-treated softwoods will have different maintenance intervals-typically every 1-3 years for oils, longer for high-quality stains.
Q: How do I inspect for and repair structural problems like rot or loose boards?
A: Carry out a visual and tactile inspection twice yearly: probe suspect areas with a screwdriver for soft or spongy wood, check joists, ledger boards and balustrades for movement or decay, and look for corroded or loose fixings. Replace any rotten boards or joists with correctly treated timber, use corrosion-resistant screws rather than nails for repairs, and ensure the ledger has appropriate flashing to prevent water ingress. Maintain clear ventilation beneath the deck to reduce rot risk.
Q: How can I protect the decking from weather, furniture and other damage?
A: Use furniture with wide feet or protective pads to avoid scratches and concentrated pressure; place plant pots on saucers or risers to prevent trapped moisture. Choose breathable deck coverings or store furniture indoors over winter. Keep nearby vegetation trimmed to improve airflow and reduce shade, maintain gutters and drainage to avoid water pooling, and reapply protective finishes as required. Avoid placing hot items directly on the timber-use heat shields for barbecues and heaters.