
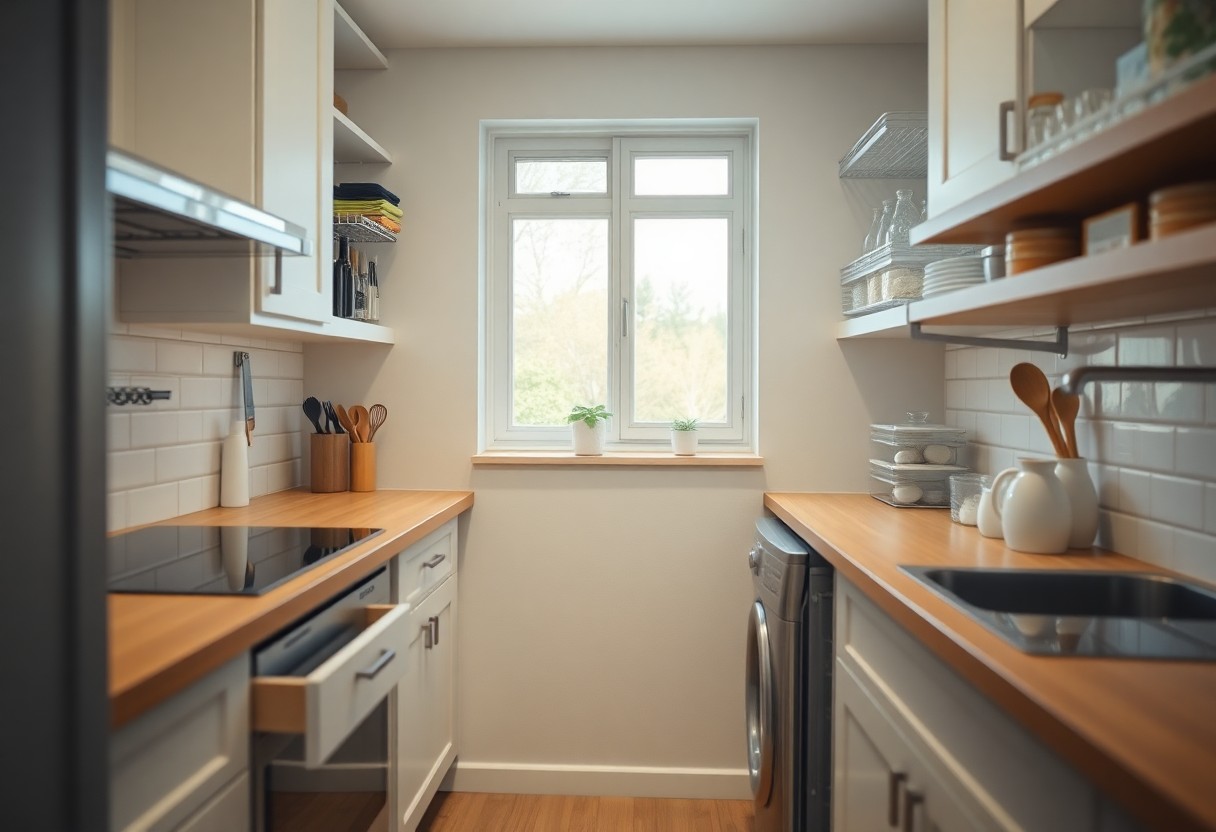
Kitchen storage need not mean an expensive renovation; you can free space by maximising vertical space, fitting efficient organisers and using clear containers to see what you have. Be decisive: declutter and create dedicated zones for prep, cooking and pantry items. For safety, secure heavy items and avoid overloading shelves to prevent accidents while keeping your workflow organised and faster.
Understanding Your Kitchen Space
When you measure, note typical depths: wall cabinets are usually 300mm, base cabinets 600mm and worktop height about 900mm; map door swings, appliance ventilation gaps of 20-50mm and any fixed plumbing or electrical routes that limit fitment. Mark reach zones and obstruction points so new solutions fit without blocking appliance ventilation or service access.
Assessing Current Storage Solutions
Audit your cupboards for 14 days to log frequency of use and wasted trips; keep daily items between waist and eye level (roughly 450-1,200mm), shift seldom-used equipment to high or low zones, and measure lost space from fixed shelves-replacing them with adjustable shelves or pull-out units will often restore accessibility and visibility.
Identifying Unused Areas
Scan for gaps such as over-fridge voids, the dead space above wall cabinets, wasted 70-100mm toe-kicks and narrow vertical gaps beside ovens; converting these into recessed shelves, toe-kick drawers or slim pull-outs can add practical storage, but avoid placing food near chemicals or blocking a gas shut-off-those modifications are dangerous.
For more detail, measure each gap and convert dimensions into useful units: a 300mm-deep shelf running 1.2m with 300mm height yields about 0.108 cubic metres of storage-enough for stacked mugs or tins; you can add spice rails to door backs, vertical dividers for trays or magnetic knife strips to free countertop and drawer space, always checking ventilation and service access before enclosing any area.
Maximizing Vertical Space
Stacking upwards transforms a small kitchen: you can gain up to 40% more storage by using wall area, tall cabinets and ceiling mounts. Fit shelving to within 15-20cm of the ceiling in a typical 2.4m room, use 30-35cm shelf intervals for plates and bowls, and keep heavier items on lower shelves. If you combine pegboards, magnetic strips and narrow pull-out larders you reclaim both bench and cupboard space fast.
Utilizing Wall-mounted Shelves
Choose floating or bracketed shelves 20-30cm deep for dinnerware, and 12-15cm for spices; mount into studs or use strong plasterboard anchors every 600mm. You should limit load to about 10-25kg per linear metre depending on fixing and material. Try oak or plywood with sealed edges to resist steam, and zone shelves by frequency-daily items at eye level, occasional pieces near the ceiling-to make access efficient.
Installing Overhead Racks
Hang pot racks 210-220cm above the floor to ensure safe head clearance, and attach directly to ceiling joists or use heavy-duty anchors rated for the expected load. A typical 1.2m steel rack carries 15-30kg when correctly fixed; evenly distribute cookware across at least four fixings to avoid sagging. You can free up cabinet volume by moving frequently used pans to an overhead rack within reach.
Ceiling-mounted racks come in single-bar, grid or tray styles; a 1.2m grid with eight hooks often holds 10-15 pots and pans, while wall-to-wall racks can support 30-50kg if bolted into multiple joists. Use stainless steel for durability in humid kitchens, space hooks at 10-15cm intervals, and add a shelf above the rack for lids or herbs. If your expected load exceeds 30kg, get a structural check or pro installation to avoid failure.
Organizing Cabinets Efficiently
Install adjustable shelving and pull-out trays to reclaim wasted vertical space; studies show adjustable shelves can free up to 30% more usable cabinet volume. If you zone cabinets by task-daily dishes, baking gear, bulk stores-you cut retrieval time and keep countertops clear. Prioritise low shelves for heavy items and fit clear shelf risers for mugs and plates, while keeping fragile glassware separated to avoid dangerous breakage during busy meal prep.
Categorizing Items
Group by frequency and function: keep everyday plates and cups nearest the dishwasher, store baking tins and mixers on a mid shelf, and place seldom-used appliances in the highest cabinet. Using simple categories like daily, weekly, and occasional helps you allocate 60-70% of easy-access space to items you actually use. Also position heavy pots low to protect your back and reduce the risk of dropping them.
Using Baskets and Dividers
Use baskets and dividers to corral loose items-spices, packets, lids-so nothing falls behind a shelf; wire or plastic baskets make contents visible and cut search time by up to half. Choose sizes around 20-30cm wide for shelf stability, label fronts for quick scanning, and reserve crisp, ventilated baskets for foodstuffs to prevent mould.
For more effectiveness, mix shallow dividers for baking trays with deeper baskets for tins and snacks, and add slim pull-out baskets for cutlery or tea bags; metal runners with ball bearings support loads over 15kg. You should avoid fabric baskets for heavy glassware because they can sag and increase breakage risk, while clear labels and uniform basket widths create a neater, more functional cabinet system.
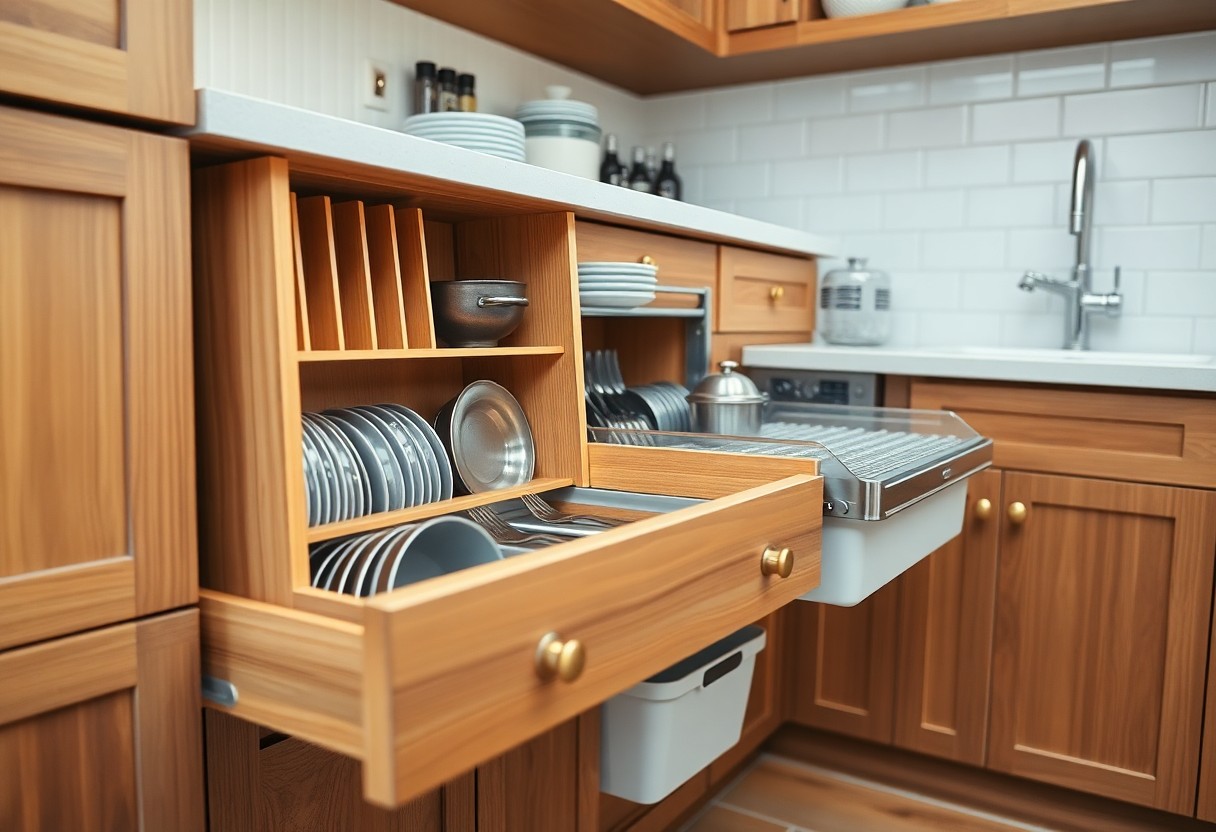
Clever Use of Drawer Storage
Free up bench space by converting deep base drawers into dedicated zones for pots, lids and small appliances; for example, a 600mm-deep drawer can hold nested pans plus three vertical lid dividers. Start by mapping zones-cutlery, utensils, baking sheets-and fit full-extension runners to gain 100% access so nothing gets lost at the back.
Implementing Drawer Organisers
Measure your drawer’s internal dimensions and install modular organisers that sit flush, leaving 3-5mm clearance each side; bamboo or silicone inserts resist moisture and are easy to clean. Mix fixed dividers for plates with adjustable trays for utensils, and add anti-slip liners to keep items stable-these changes can reclaim up to 30% of wasted space in a standard kitchen drawer.
Creating Multi-tiered Drawers
Stack tiers to separate flatware from bulky utensils by inserting risers or a secondary shallow tray; typical drawers 180-300mm high will accept one or two tiers, while very tall drawers permit three. Choose clear acrylic or mesh tiers for visibility and ensure you respect the runners’ load limits-manufacturers commonly rate them 20-45 kg-to avoid premature failure.
Measure internal height, then plan tier heights such as 35-45mm for cutlery trays and 80-120mm for utensils or spices; leave 5mm clearance above each tier for smooth operation. Fix risers with short screws into the drawer base or use high-strength adhesive strips for removable setups, and prefer fully extendable runners so you can access rear tiers without removing the top tray.
Smart Appliance Placement
Group appliances by task to reclaim storage and streamline workflow: create a coffee zone with your coffee machine, grinder and jarred beans within 60-90 cm of your prep area, a baking zone with mixer and scales near the oven, and keep the microwave off the counter where possible. Use vertical space and under-counter nooks for seldom-used gadgets, and position heavy items low to avoid lifting. Small changes can free up 0.5-1 m of usable countertop in a compact kitchen.
Identifying Key Appliances
Decide which appliances you use daily (kettle, coffee machine, toaster) versus weekly (bread maker, slow cooker) and place the daily ones at countertop height for immediate access. If you use an appliance more than once a day, store it within arm’s reach; if occasional, tuck it under a counter or in a tall cupboard. Aim to keep frequently used items within reach of 60-90 cm of your main prep surface to cut steps and save time.
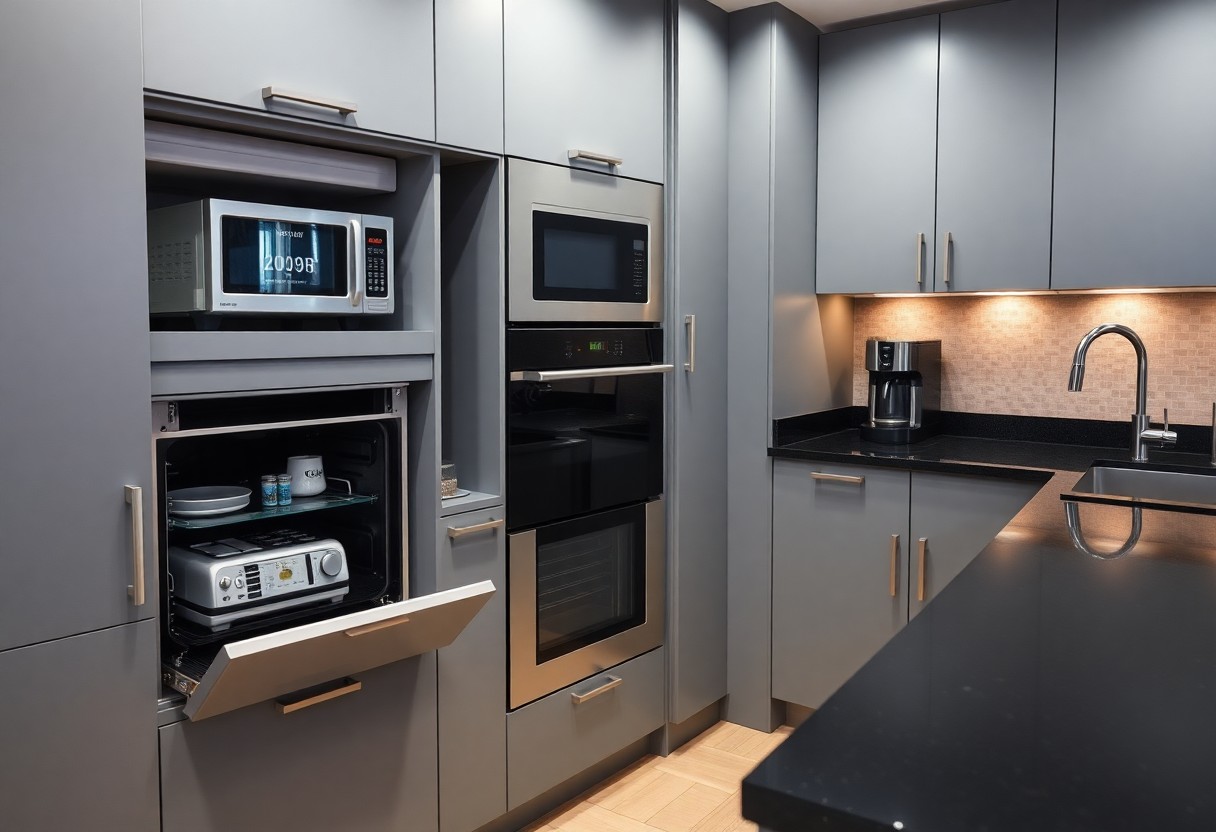
Using Appliance Garages
Appliance garages-sliding or tambour-front cabinets directly on the worktop-let you hide devices while keeping them ready to use, reducing visual clutter and protecting equipment from grease. Fit a garage to house your coffee machine and toaster in a single 600 mm module to reclaim counters, and ensure there’s a dedicated internal socket and access for the cord. Be aware that adequate ventilation is imperative to avoid overheating.
Choose a tambour or lift-up door to allow the garage to remain open while the appliance runs, and fit a switched internal socket or pop-up outlet for safety and convenience. Provide at least a small gap or vent at the rear (typically around 20-50 mm) and avoid sealing high-heat appliances inside; for example, keep toasters and air-fryers with open-front garages or leave the door open during use. A well-designed garage can store two to three small appliances while keeping counters clear and tidy.
Tips for Decluttering and Maintenance
You should set a simple routine for decluttering and maintenance: sort counters weekly, cull duplicates quarterly and keep a one-touch donation box; use labelled 20‑litre bins and clear containers for storage. A ten-minute nightly tidy prevents weekend deep‑cleans and preserves worktop space for cooking. Recognizing that small, regular actions save time and free up usable kitchen area.
- Decluttering: one-box donation every 3 months
- Maintenance: monthly checks on seals and filters
- Storage: labelled, clear bins and FIFO rotation
Regularly Reviewing Inventory
You should schedule a quarterly audit of your inventory, noting expiry dates and quantities on a phone list or app; studies show households can cut food waste by up to 30% with simple tracking. Use FIFO (first in, first out), group staples by frequency and set a three-month purge for little-used items. When you shop, reconcile stock before each trip to avoid duplicates.
Seasonal Storage Solutions
You should rotate bulky items seasonally: store summer picnicware and fans in labelled clear boxes during winter, and stow winter baking tins and slow cookers in the loft or a high cabinet for summer; vacuum bags can save up to 70% space for textiles. Keep an accessible ‘in-season’ shelf so you retrieve items without overturning cabinets.
Plan by category: you should store bulbs and tubers in cool, dark spots at 5-10°C, while linens need humidity below 50% to avoid mould. Use stackable clear boxes of about 30 litres for cookware and label lids with contents and season; place heavier items on lower shelves and secure ladders if you access loft storage. Avoid keeping food in garages where temperature swings over 10°C reduce quality.

Final Words
As a reminder, you can dramatically improve kitchen storage without extending by decluttering, fitting adjustable shelving and pull-out organisers, using wall-mounted racks and magnetic strips, stacking clear containers and labelling them, and making better use of doors and vertical space; plan zone-based storage so your most-used items are within easy reach, and invest in multi-function furniture to maximise efficiency in the space you have.
FAQ
Q: How can I maximise storage inside existing kitchen cabinets without building an extension?
A: Start by decluttering items you rarely use, then measure cabinet height and depth to add adjustable shelving or shelf risers to create extra tiers. Use stackable containers and uniform jars to reduce wasted space and fit more items neatly. Install pull-out drawers or wire baskets in deep cabinets to access the rear without stacking items in unstable piles. Fit door-mounted racks on internal doors for wraps, spices or cleaning supplies to free shelf space. Prioritise frequently used items at the front and seasonal or seldom-used items at the back.
Q: What are effective ways to use vertical and wall space for storage?
A: Fit open shelving or shallow wall-mounted cabinets for dishes and frequently used cookware. Install a rail system with S-hooks for utensils and pans, or a magnetic strip for knives to free countertop space. Use pegboards to customise tool layouts and change positions easily. For renters, opt for high-strength adhesive hooks or removable shelving systems that avoid drilling. Always check weight ratings and fixings, and distribute heavy items across multiple anchors to prevent damage.
Q: How should I organise drawers and small items to make the most of them?
A: Use adjustable dividers and inserts to separate cutlery, utensils, and gadgets so every item has a designated spot. For deep drawers, add tiered organisers or multi-level trays so smaller items don’t get lost. Non-slip liners keep items from shifting when drawers open. Group similar items and avoid single-purpose gadgets; consolidate where possible into multifunctional tools. Measure drawer dimensions before purchasing organisers to ensure a snug fit.
Q: What solutions work best for awkward corners and blind spots in kitchens?
A: Fit a lazy Susan or rotating carousel in corner cupboards to access items without rummaging. Consider retrofit corner pull-out units or swing-out trays that bring items forward on rails. For toe-kick space, use shallow pull-out drawers for baking trays or chopping boards. Install vertical dividers for baking sheets and trays beside oven cabinets. Choose mechanisms rated for your cabinet size and be prepared to adjust shelving to accommodate moving parts.
Q: Which low-cost or renter-friendly options improve storage without permanent alterations?
A: Use tension rods under the sink to hang spray bottles, and install over-the-door organisers for pantry or cupboard doors. Slim rolling carts can slot between fridge and counter for frequently used items and are easily removed. Adhesive hooks, removable command strips, and peel-and-stick shelves add storage without drilling-ensure surfaces are clean and follow manufacturer instructions for load limits. Under-shelf baskets clip onto existing shelves to create extra tiers, and clear labelled boxes or baskets keep open shelving tidy and efficient.