
Just start by locating the noisy boards and tightening loose boards with screws or inserting shims for a durable repair, try talcum powder or powdered graphite for quick friction fixes, and check for structural damage or rot-if joists are affected call a professional to avoid safety risks, so you can enjoy a quiet, solid floor without unnecessary replacement.
Understanding the Causes of Creaking Floors
Mechanical noise usually comes from movement between boards, fasteners and the subfloor. You can link many creaks to seasonal humidity swings-hardwood may move 2-3 mm per 100 mm of board width with a 10% humidity change. Often loose nails, moisture-warped boards or inadequate joist support (spacing over 400 mm) are the culprits. You should inspect nail patterns and measure gaps to narrow causes quickly.
Factors Contributing to Creaking
Several common elements make boards rub or shift; you can often trace noises to a handful of causes:
- Moisture fluctuations widening or narrowing boards
- Loose nails/screws allowing boards to lift and slip
- Worn tongue-and-groove joints losing contact
- Insufficient subfloor fastening or voids beneath boards
- Sagging joists or spans greater than 400-600 mm
The combination of ageing, moisture swings and poor fastening can amplify every squeak.
Assessing Your Floor Installation
Start by identifying whether your floor is nailed, glued or floating, since each gives distinct noises-nailed floors squeak along fastener lines while floating floors shift at seams. You should check joist spacing (commonly 400-600 mm), fastener spacing (about 200-300 mm), and edge gaps; a hollow spot over 100 mm usually points to subfloor issues you can target.
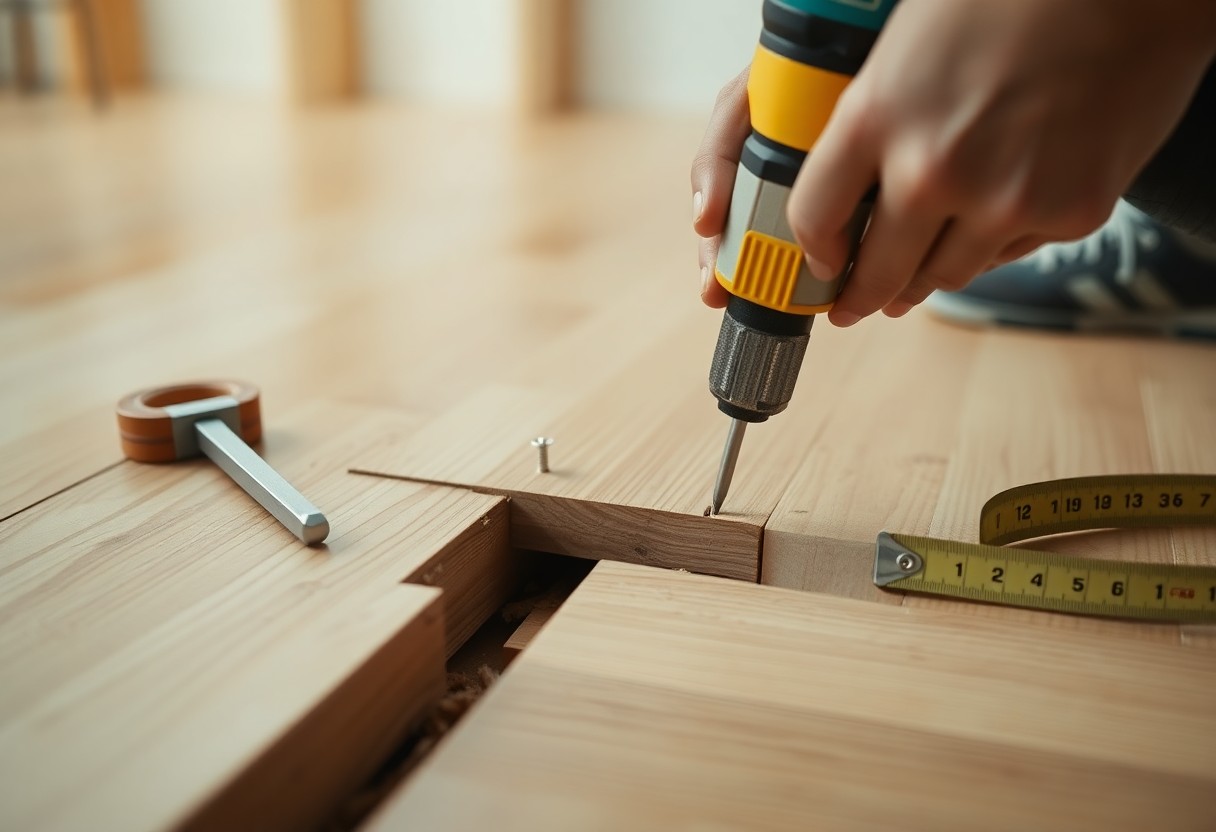
Use a torch and a 3 mm probe to map movement, mark squeak locations and lift boards only where necessary. A typical remedy is re-screwing the subfloor at 300 mm centres plus applying adhesive underboards; in one 30 m² case this cut sounds by roughly 90% after 24 hours. The tests you perform will show whether simple fixes or partial replacement are required.
How to Identify Creaking Areas
Walk the area slowly, placing weight where you normally step and note every noise; you can mark each creak with painter’s tape or a sticky note so you track repeats. Try both light and heavy steps, as some creaks only appear under load, and if you have access below the floor, press or bounce the board while someone watches joist attachment points. Marking each creak lets you target repairs precisely and avoid unnecessary work.
Techniques for Locating Creaks
Use a two‑person method: one walks a measured grid while the other listens and records locations, or employ a long screwdriver as a listening stick pressed to the board and your ear to the handle to amplify noise. Tap along board edges every 200-300 mm with a 500 g rubber mallet to find loose spots, and try weight shifting-stand on one foot, then the other-to isolate which board or seam moves.
Tools and Equipment Needed
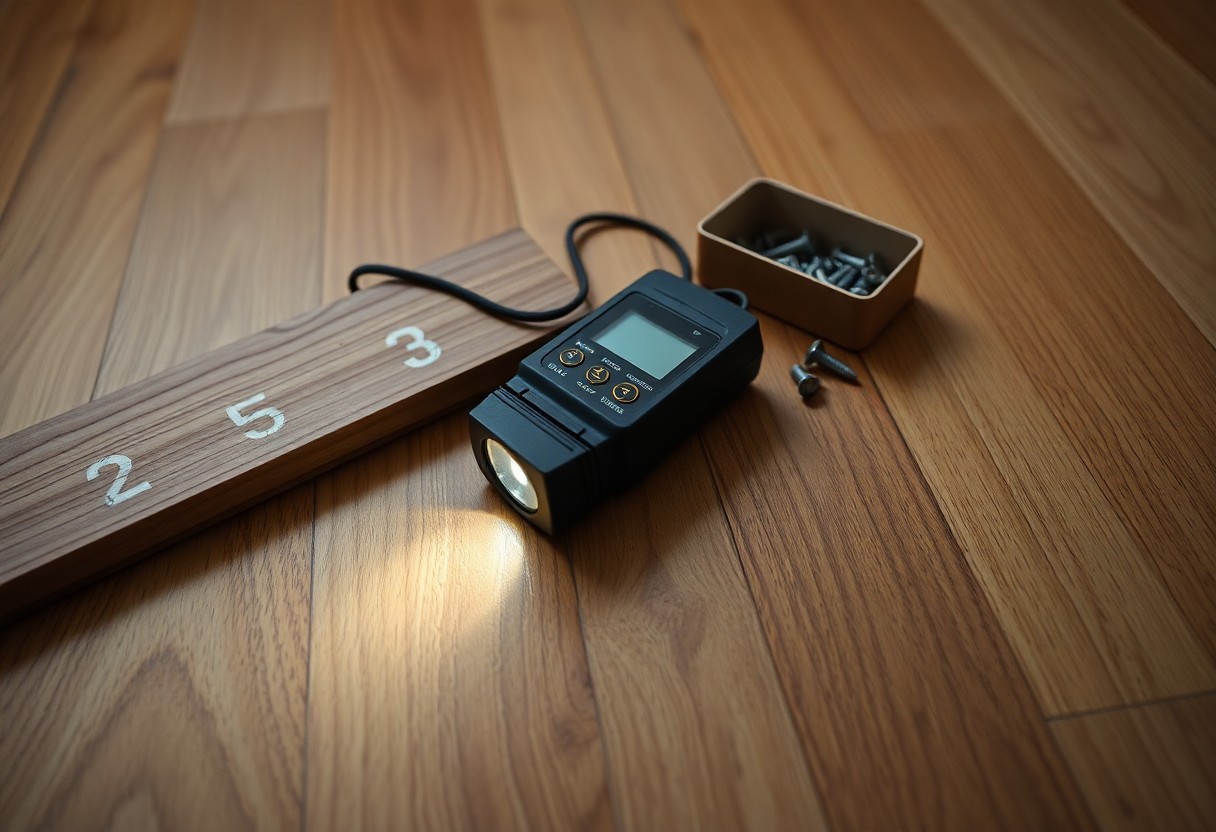
Prepare a flashlight, painter’s tape, pencil, joist finder, cordless drill with 3.5 x 35-45 mm trim‑head or flooring screws, 25-40 mm shims, PVA wood glue and a syringe for injection, powdered graphite or talc for lubrication, a rubber mallet and pry bar. Include personal protective equipment: safety goggles and a dust mask, and check for wiring/plumbing before drilling.
Choose screws with a small head to minimise surface visibility; for softwood joists a 3.5 x 45 mm screw driven every 200-300 mm into the joist usually holds firmly. Use a stud/joist finder-joists are typically set at 400-600 mm centres in UK builds-so you can place screws correctly. When injecting PVA, apply about 5-10 ml into the gap per defect, clamp for 30-60 minutes, and remove excess glue; apply powdered graphite sparingly (about a pinch per seam) to quiet friction without staining the wood.
Tips for Fixing Creaks
Prioritise targeted fixes: tighten loose boards with wooden floors-specific screws, lubricate rubbing joins with powdered graphite or talc, and secure the subfloor with construction adhesive at joist lines; for example, drive 30-40 mm screws every 30-40 cm along loose boards or use 6-8 mm shims where joists gap. Use creaking diagnostics like a torch and straightedge to map movement before you work. Fixing creaks this way often resolves 70-90% of issues without full replacement.
- Use 30-40 mm screws every 30-40 cm across loose boards.
- Sprinkle powdered graphite or talc into seams for immediate silencing.
- Apply polyurethane adhesive between subfloor and joist where movement occurs.
- Install blocking or sister joists if joists are twisted or spaced >400 mm.
- Isolate high-traffic areas with rugs until permanent repairs are done.
Immediate Solutions
You can quiet many noises tonight: sprinkle powdered graphite or talc into gaps and work it in, tighten visible nails with a punch and replace them with 20-40 mm screws, or press small amounts of silicone into rubbing joints to stop squeaks for months. If you access the underside, drive 25-35 mm screws through the subfloor into joists at 300-400 mm centres where movement is worst. These steps cost under £20-£60 in materials and often cut audible creaks by over 50% immediately.
Long-term Fixes
For lasting results, glue and screw the floor to the subfloor using a construction adhesive (PVA or polyurethane) plus 30-60 mm screws at 300-400 mm centres, fit sister joists or blocking where joists are weak, or replace warped boards with kiln-dried timber to match moisture content. Professional remedial work-rescrewing, sanding and recoating-can extend life by 15-25 years and reduce movement substantially; always check joist orientation and spacing before drilling.
More intensive jobs include installing ply underlay screwed and glued to joists to eliminate timber-to-timber friction, or planing and refitting boards after stabilising ambient humidity to 45-60%. In a 1920s terrace retrofit, adding blocking and using polyurethane adhesive with screws at 300 mm centres cut creaks by over 90% while keeping original boards; be cautious to avoid overdriving near board edges to prevent splitting and always predrill close to edges. Knowing the joist layout and moisture content before you start saves time and prevents costly mistakes.
Preventative Measures for Future Creaks
Maintenance Tips
Inspect your floor twice yearly for loose boards and popped nails; swap nails for long screws where possible and tighten visible fixings to limit movement. Vacuum between boards and run a soft brush along joints to remove grit that accelerates wear, and apply a thin protective polish every 6-12 months to reduce friction. Fit felt pads to heavy furniture and rotate rugs to spread load. Thou should act on small squeaks promptly to prevent subfloor deterioration.
- Loose boards
- Screws
- Protective polish
- Felt pads
Environmental Factors to Consider
Seasonal swings in relative humidity drive most timber movement; aim for an indoor band of about 40-60% RH because winters often drop below 30% in UK homes, creating gaps, while humid summers can cause cupping. Use a hygrometer in living areas and consider a humidifier in very dry months or a dehumidifier in persistently damp rooms to keep fluctuations under roughly 10% where you can. Perceiving these patterns helps you schedule humidity control and minor repairs.
- Relative humidity
- Hygrometer
- Dehumidifier / humidifier
Measure RH at floor level and near exterior walls, since moisture ingress from below or through uninsulated walls often causes the worst seasonal movement; many manufacturers specify a moisturisation range of 40-60% RH and allow only small expansion gaps (typically 8-12 mm around room perimeters) to accommodate movement. In practice, place two hygrometers in larger rooms, ventilate briefly after cooking or drying laundry, and check joist vents and subfloor membranes annually to limit rising damp. Perceiving these local variations allows you to target interventions where they matter most.
- Floor-level RH
- Expansion gaps 8-12 mm
- Subfloor ventilation
Professional Help vs. DIY Solutions
When squeaks are isolated you can often fix them yourself using talc, powdered graphite, glue or bayonet screws; a quick test is to tighten visible screws or sprinkle talcum to see if noise drops. For step‑by‑step methods consult How to Fix Squeaky Wood Floors: A Comprehensive Guide. If movement involves joists or gaps over 3 mm you should consider professional assessment because structural issues can worsen rapidly.
When to Call a Professional
If squeaks appear across several rooms, you notice sagging or deflection greater than 5 mm, persistent gaps over 3 mm, or visible rot and water damage, call a pro. Specialists use moisture meters, joist levelling and resin injections; a typical survey on an older home often reveals multiple failing fixings and timber decay that require structural repair rather than a quick DIY patch.
Cost Considerations
DIY fixes usually cost about £5-£50 for materials, while a tradesperson typically charges £150-£800 for localised repairs; full joist replacement or levelling can reach £800-£3,000+. You save on labour with DIY but improper repairs can inflate later bills, so weigh immediate savings against the floor’s condition and long‑term value.
Expect call‑out fees of £40-£100 and labour rates around £40-£70 per hour; small jobs often take 2-4 hours, larger structural jobs 1-3 days. Materials such as screws, adhesive and underlay add £10-£200, while replacing premium oak boards can be £30-£80 each. Always obtain written quotes and confirm warranties to avoid unexpected costs.
Additional Resources and Tools
Consult manufacturer installation sheets, building-regulation guidance and community threads for step-by-step photos and troubleshooting; for a hands-on discussion see How to unsqueak a squeaky hardwood floor?. You should also follow safety advice-wear eye protection, check for hidden services and use a moisture metre-so you avoid damaging joists or creating long-term moisture problems.
Recommended Products
You should keep a compact kit: 1¼ in (30 mm) trim‑head screws for hidden fastening, a cordless impact driver with torque control, PL‑type polyurethane adhesive for loose tongue joints, 8-10 mm wooden shims, 120‑grit sandpaper and felt pads for furniture. For quieter subfloors consider a floor‑repair kit or glue‑and‑screw systems; using the correct screw length avoids splitting and prevents hitting services beneath.
Useful Guides and References
You’ll find value in manufacturer manuals, trade standards such as the National Wood Flooring Association (NWFA) guidance and UK building‑regulation notes; those resources list nail/screw spacing (typically 150-200 mm along joists) and recommended acclimatisation times. Also consult how‑to threads like How to unsqueak a squeaky hardwood floor? for practical photos and alternatives.
When you review guides focus on measurable specs: allow a 8-12 mm expansion gap, aim for timber moisture content of around 6-9% before installation and keep subfloor and board readings within ±2 percentage points. Also check joist centres (commonly 400-600 mm), acclimatise boards 48-72 hours and follow illustrated fix methods to avoid costly mistakes like overdriving screws into services.
Conclusion
The most effective way to stop wooden floors from creaking is to locate the moving boards and secure or cushion them; you should tighten loose boards with screws, insert shims, use powdered graphite or talc to reduce friction, and control your home’s humidity to limit seasonal movement.
FAQ
Q: What commonly causes wooden floors to creak?
A: Creaking usually comes from movement and friction between floorboards, the subfloor and the joists. Changes in humidity make timber expand and contract, loosening nails or leaving gaps in tongue-and-groove joints. Poor fastening, worn or missing adhesive, warped boards or weakened joists can also allow boards to rub together or against fasteners, producing squeaks.
Q: What quick, non-invasive fixes can reduce squeaks?
A: For a temporary or low-effort approach, sprinkle talcum powder, powdered graphite or powdered soap into the gaps between boards and work it in to reduce friction. Rub a candle or block of paraffin wax along seams. Tighten loose surface nails with a hammer or replace them with short screws that won’t damage the finish. These methods won’t cure structural issues but often quieten minor rubbing.
Q: How do I permanently stop creaks from the top of the floor?
A: Identify each squeak by walking the floor and marking the spot. Pre-drill small pilot holes to avoid splitting, then fasten the board to the joist with floor screws or specialist anti-squeak screws, countersinking heads and filling holes with matching filler or wood plug. For tongue-and-groove flooring, use glue in the joint or screw through the tongue at an angle where possible. Replace badly damaged boards and refasten any loose mouldings to stabilise edges.
Q: Can creaks be fixed from below, and how should that be done?
A: Yes – access from beneath (cellar, crawlspace) is often most effective. Locate the squeak, then screw or nail the subfloor down into the joist using long screws; use construction adhesive between joist and subfloor for a bonded fix. Add blocking or sister new joists where joists are weak, and replace rot-damaged timber. Ensure adequate ventilation and insulation to prevent future moisture problems that can cause movement.
Q: How can I prevent wooden floors from starting to creak again?
A: Control indoor humidity (ideally 45-55%) so boards do not over-expand or shrink. Allow timber to acclimatise before fitting, use correct fasteners and flooring adhesive during installation, and keep furniture feet padded to avoid concentrated movement. Regularly check and tighten fastenings, maintain good subfloor ventilation, and address any structural timber decay promptly to prevent new movement and noise.