
Just by maintaining the mortar joints you protect your home from water ingress and costly structural damage, and ensure bricks shed moisture correctly; you also avoid frost spalling, rot and damp that undermine walls and timbers. Repointing restores mortar strength, improves weather resistance and can extend the life of your walls, maintain property value and reduce long-term repair bills, so you should inspect and act before minor deterioration becomes major failure.
Understanding Repointing
When mortar fails you should inspect joint depth and brick soundness, often cutting out to 20-30mm or until solid masonry appears. Repointing stops water ingress, reduces freeze-thaw damage and limits lateral movement in façades. For example, a 1920s Manchester semi recorded a 15-20% drop in moisture readings after targeted repointing, and conservative work can extend a wall’s service life by decades while retaining its original appearance.
Definition and Purpose
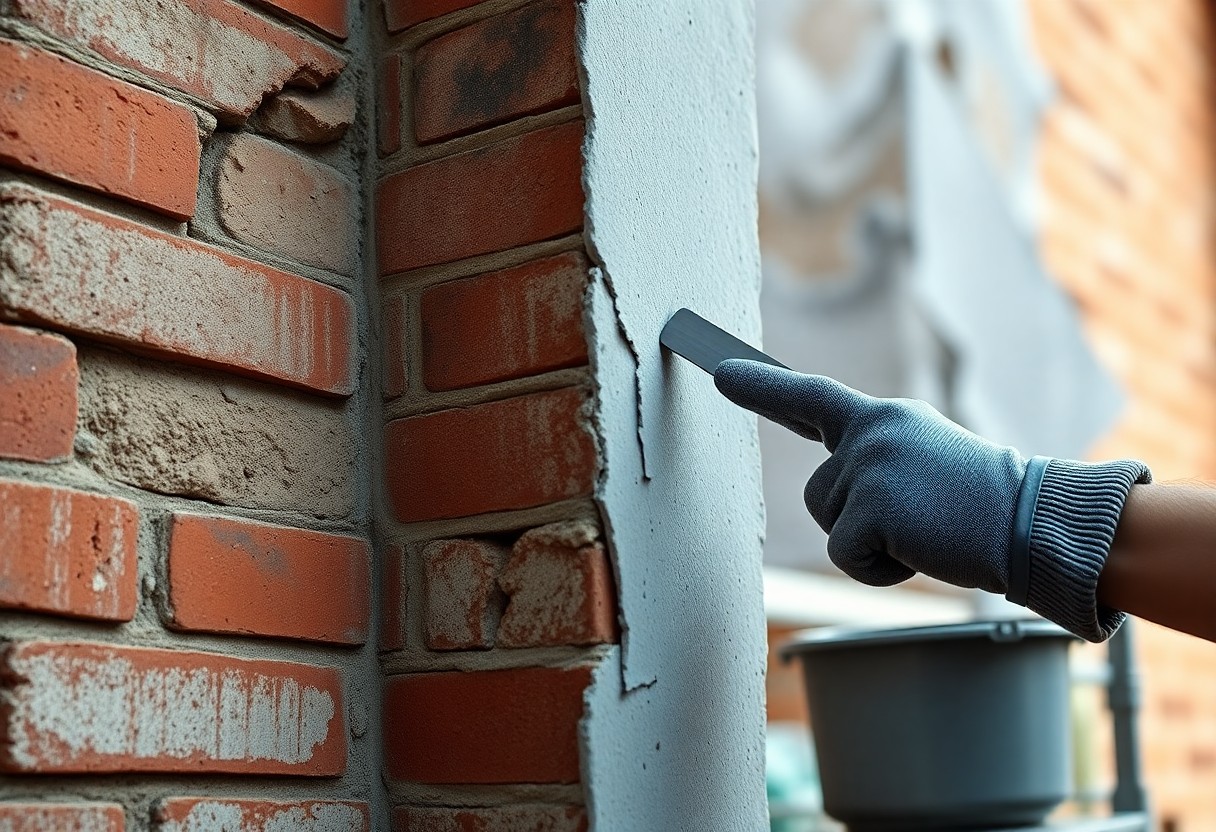
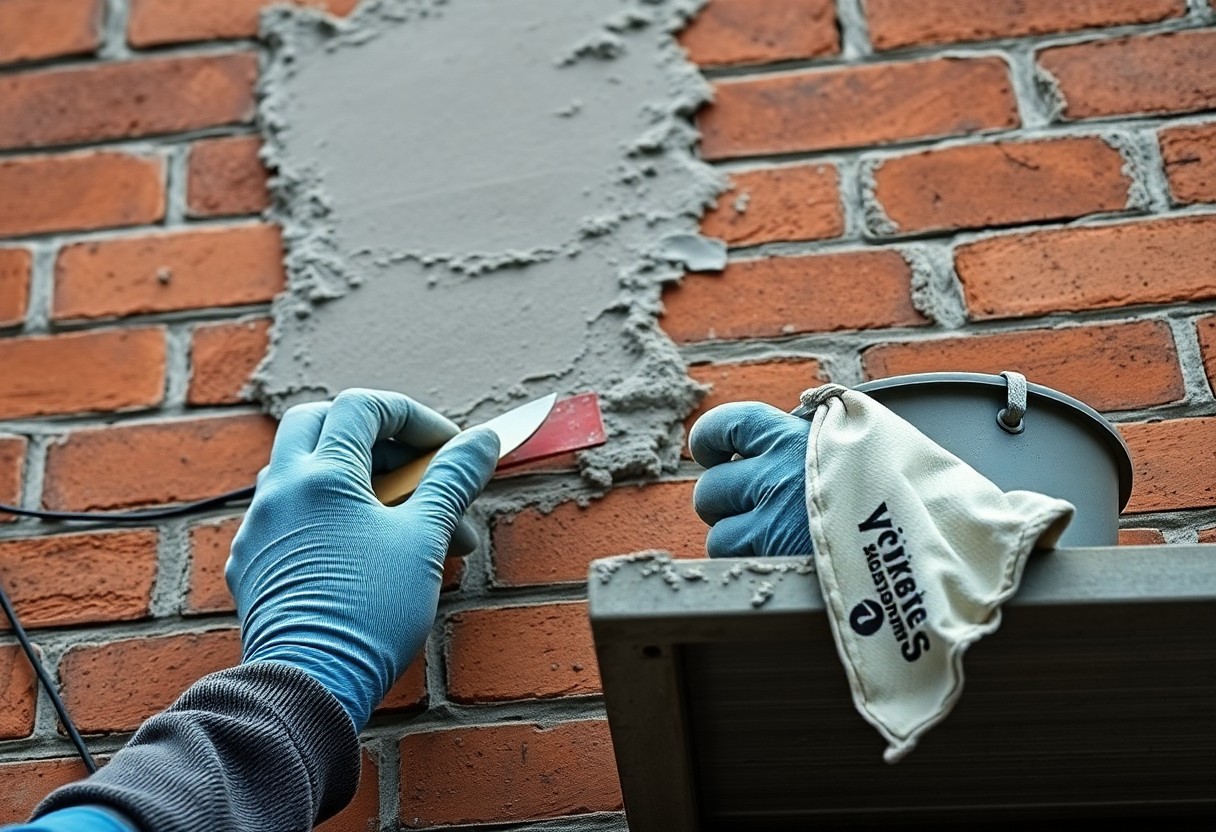
You remove deteriorated mortar and replace it to restore bond and weatherproofing; the process typically clears joints to 2-3 times their width to reach sound material. The purpose is to restore structural performance, prevent moisture-driven decay and preserve breathability on older builds that rely on lime-based mortars. Proper repointing also preserves decorative joint profiles and avoids introducing harder materials that can damage softer bricks.
Common Materials Used
Common choices include lime mortar for pre-1950s stock, Portland cement for many modern repairs and gauged mixes that blend lime and cement for compatibility. You’ll pick lime for flexibility and vapour permeability, cement when higher compressive strength and rapid set are required, and gauged mixes to balance strength with breathability in transitional repairs.
Compatibility matters: cement mortars typically exceed 10 MPa compressive strength while traditional lime mortars often sit below 5 MPa, so using cement against soft Victorian bricks can lead to spalling within a few decades. You should choose mortar matched to the brick’s hardness, porosity and historical context-conservation projects in the Cotswolds routinely specify hydraulic lime to avoid long‑term damage.
Benefits of Repointing
Structural Integrity
By replacing decayed mortar you restore the bond between bricks, halting joint loss that typically appears within 20-30 years on exposed façades. When joints fail, water ingress and freeze-thaw damage accelerate spalling and lateral movement; repointing redistributes loads and seals joints, often adding two to four decades to the life of the masonry. You thereby reduce the risk of expensive brick replacement and preserve original fabric in Victorian and Edwardian properties.
Aesthetic Appeal
Fresh pointing transforms appearance: choosing the correct mortar colour, texture and joint profile (flush, recessed, raked) reinstates period character and boosts kerb appeal. You match mortar hue to existing bricks to avoid a patchwork effect; well-executed repointing on terraces and listed façades improves visual coherence and helps maintain marketability when you sell or rent.
In conservation practice you should carry out small sample panels to test colour and joint profile before committing to the whole façade, and favour lime-based mortars for early brickwork because modern cement mortars are considerably harder and can trap moisture and fracture soft bricks. You’ll find contractors use matching sand and pigment to achieve authentic hues; a correctly matched repointing reduces later maintenance and preserves the period patina that owners and heritage officers value.
Signs Your Brick Home Needs Repointing
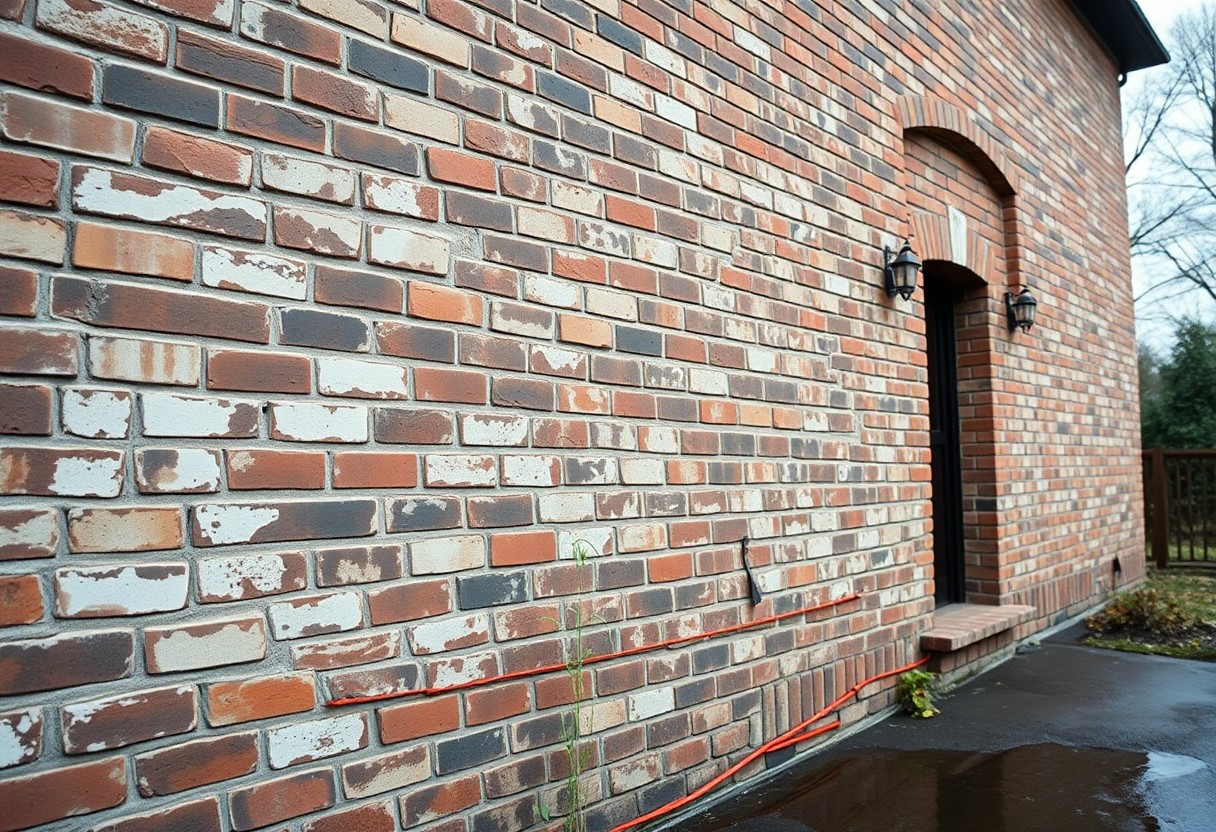
You’ll notice tell‑tale signs such as crumbling joints, loose bricks, and persistent damp patches; gaps wider than 3mm in the mortar are especially significant. Older properties with lime mortar often show erosion sooner, and if you see several decayed joints per square metre or mortar that flakes under a thumbnail, it’s time to plan repointing to prevent further wall deterioration.
Cracks in Mortar
You should distinguish between hairline surface cracks and those that follow mortar joints; cracks along joints wider than 3mm commonly indicate movement rather than mere weathering. If a crack runs continuously for several metres or you can press a thumbnail into the joint, you face potential structural movement and increased water ingress, so arrange a professional inspection to assess whether full repointing or structural repair is required.
Water Damage Indicators
White salt deposits (efflorescence), black mould, and brown staining after rain signal that mortar is allowing moisture through; efflorescence often appears where salts leach to the surface. You may also find mortar washed into the base of walls or powdery joints that no longer shed water, which accelerates brick deterioration and internal damp problems if left untreated.
Inspect walls after heavy rain: if joints feel spongy or areas remain wet beyond 24-48 hours, persistent saturation will lead to spalling and internal damp. Check around window sills and eaves for efflorescence and rust staining (a sign of corroded wall ties). In traditional buildings, mismatched cement repointing can trap moisture, so you should match mortar type and profile when arranging repairs to avoid repeating the damage.
The Repointing Process
You’ll typically follow a staged approach: inspect and test, remove failing mortar to a depth of at least 10-20 mm, prepare a matching mortar, and repoint in controlled lifts so joints cure evenly. In practice, a properly executed job can extend wall life by 15-30 years, while a mismatched cement mortar often leads to brick spalling within 5-10 years.
Inspection and Assessment
You start by mapping damaged joints, noting patterns of salt staining, hairline cracks and mortar loss; if more than a quarter of visible joints are loose or missing you should plan full repointing. Use a moisture meter, probe depth gauges and take a mortar sample for lab analysis to identify lime versus cement-based mixes – for example, many Victorian terraces require lime mortar to retain breathability and prevent trapped moisture.
Techniques and Tools Used
You remove old mortar with hand rakes, a 51 mm angle grinder only where bricks are hard, or pneumatic rakers for thick cement; pointing is done with a pointing trowel and jointing irons, and mixes are applied in lifts with 24-48 hour set intervals. Avoid using high-speed grinders on soft bricks, as they can cause irreversible damage.
Further detail: you’ll choose mortar strength to be softer than the brick to allow movement – traditionally NHL or non-hydraulic lime for soft clay, and weaker cement blends for engineering bricks. Hand-mixed batches (bucket and paddle) give better control; consider a test panel 1-2 m² to check colour, texture and compressive behaviour. Experienced contractors often complete repointing at a rate of 2-4 m² per day per person, depending on access and joint condition.
Choosing the Right Professional
You should prioritise contractors with specific repointing experience-typically 5-10 years on brick heritage work-and evidence of training such as NVQ Level 2/3 or CITB courses. Check for public liability insurance of at least £5 million, a written estimate, and a clear warranty. Prefer those who propose a sample panel and mortar analysis; that often separates competent teams from those who will use inappropriate cement mixes.
Qualifications to Look For
You should seek tradespeople trained in mortar technology and breathability, who can demonstrate experience with lime mortars and pre-1900 brickwork. Look for certifications (NVQ, CITB) and memberships-examples: Heritage Lottery-funded training or local conservation officers’ approvals. Require at least three recent references with photos, a written method statement and evidence of insurance before you book.
Questions to Ask Potential Contractors
Ask what mortar mix they will use (for example NHL 3.5 lime for soft bricks), how they will match joint width and colour, and whether they will carry out a sample panel. Also ask for a schedule, scaffold plan, estimated drying times, and confirmation of a written guarantee; ensure you obtain at least three references and proof of insurance before you pay any deposit.
Good answers include explicit mortar ratios, onsite trials, and staged payments (a typical deposit is 30% with balance on completion). Be wary if a contractor insists on hard Portland cement for older bricks, offers unusually low bids, or declines to provide a sample panel-those are danger signs. Ask for photos of completed jobs and a clear defects period (commonly 12 months) so you can check workmanship and have recourse.
Maintenance Tips Post-Repointing
After repointing, you should inspect at least twice a year (spring and autumn) and after severe weather; minor hairline cracks under 3 mm can be monitored, while gaps over 3 mm usually need attention. Keep gutters clear and direct runoff away from walls to prevent water ingress. Use breathable, lime-based mortar for historic brick homes, and avoid abrasive cleaning that damages joints.
- Inspect joints every 6 months for spalling, loose mortar or voids.
- Clear gutters and downpipes biannually to avoid rising damp.
- Trim vegetation to keep plants at least 300 mm from walls.
- Avoid high-pressure washing; use gentle brushes and low-pressure rinses.
- Plan for full repointing within 20-30 years or sooner if exposed.
Routine Inspections
You should carry out visual checks twice yearly and after storms, noting mortar loss, cracked bricks or persistent damp staining; measure joints and log any gaps above 3 mm. Probe suspect mortar with a screwdriver-soft, powdery residues or deep voids signal failure. If you find water ingress or spalling, book a qualified mason promptly, as delays increase repair costs and risk structural damage.
Preventative Measures
Maintain gutters and flashings, re-bed loose copings, and ensure ground levels fall away from walls by at least 150 mm over 1 metre to reduce splash-back. Choose lime-based, breathable mortar for repairs and avoid cement-rich mixes that cause spalling; apply pointing to the full joint depth (minimum 10 mm) to improve durability.
Schedule gutter cleaning twice yearly, replace damaged mortar to full depth, and keep shrubs and climbers at least 300 mm clear; use a vapour-permeable water-repellent only when advised by a conservation mason and always test a small patch first. Record dates and materials so future repairs match original work. Perceiving the value of consistent, measured care will extend the life of your repointing.
Final Words
Summing up, repointing protects your brickwork from water ingress, structural deterioration and heat loss, preserves aesthetic value and prevents costly repairs by restoring mortar integrity and directing moisture away from the wall. By scheduling timely repointing you maintain property value, extend the life of your walls and avoid escalating maintenance bills.
FAQ
Q: What is repointing and why is it necessary for brick homes?
A: Repointing is the process of removing deteriorated mortar from between bricks and replacing it with new mortar. It restores the joints’ ability to shed water, prevents mortar loss and brick erosion, and maintains the wall’s weatherproofing and overall longevity.
Q: How does repointing protect the structural integrity of a brick property?
A: Sound mortar bonds the brickwork together, distributing loads and restraining movement. When joints fail, moisture penetrates, freeze-thaw cycles and salts cause spalling, metal ties can corrode and timbers can rot, all of which accelerate structural decay; repointing halts these processes and preserves load-bearing capability.
Q: When should repointing be carried out and what signs indicate it is needed?
A: Frequency depends on mortar type and exposure, but inspection every 10-20 years is sensible. Look for recessed or crumbling mortar, wide cracks, missing sections, damp patches on internal walls, efflorescence (white salts) on the surface, or bulging brickwork; these are clear indicators that repointing is required.
Q: Does the type of mortar and method used matter?
A: Yes. Mortar must be compatible with the original brick and building age-older buildings generally need softer, more breathable lime-based mortars rather than hard, cement-rich mixes. Correct mix, joint profile, depth and pointing technique prevent trapped moisture and brick damage and ensure the repair performs and looks right.
Q: Will repointing affect my property’s appearance, value and running costs?
A: Proper repointing improves appearance, reduces maintenance and repair costs, and can protect or enhance market value by demonstrating good upkeep. It also improves thermal performance indirectly by eliminating moisture-related heat loss and can be important for compliance with conservation or insurance requirements.