

It’s necessary to waterproof your bathroom correctly to prevent water damage and persistent mould; you should assess substrates, select suitable membranes or sealants, and confirm showers, baths and wetroom floors have correct falls and drainage. For complex work, engage a qualified professional to ensure professional installation and long-term protection, and inspect seals periodically to protect your property, fittings and future resale value.
Importance of Bathroom Waterproofing
Waterproofing stops small leaks from becoming major faults; even a slow leak of 1 litre per minute delivers 60 litres an hour, enough to saturate screed and joists within days and allow mould to begin within 24-48 hours. You should treat waterproofing as a systems approach – membranes, slopes, drainage and ventilation working together – because isolated fixes rarely prevent repeated damage or expensive repairs later on.
Preventing Water Damage
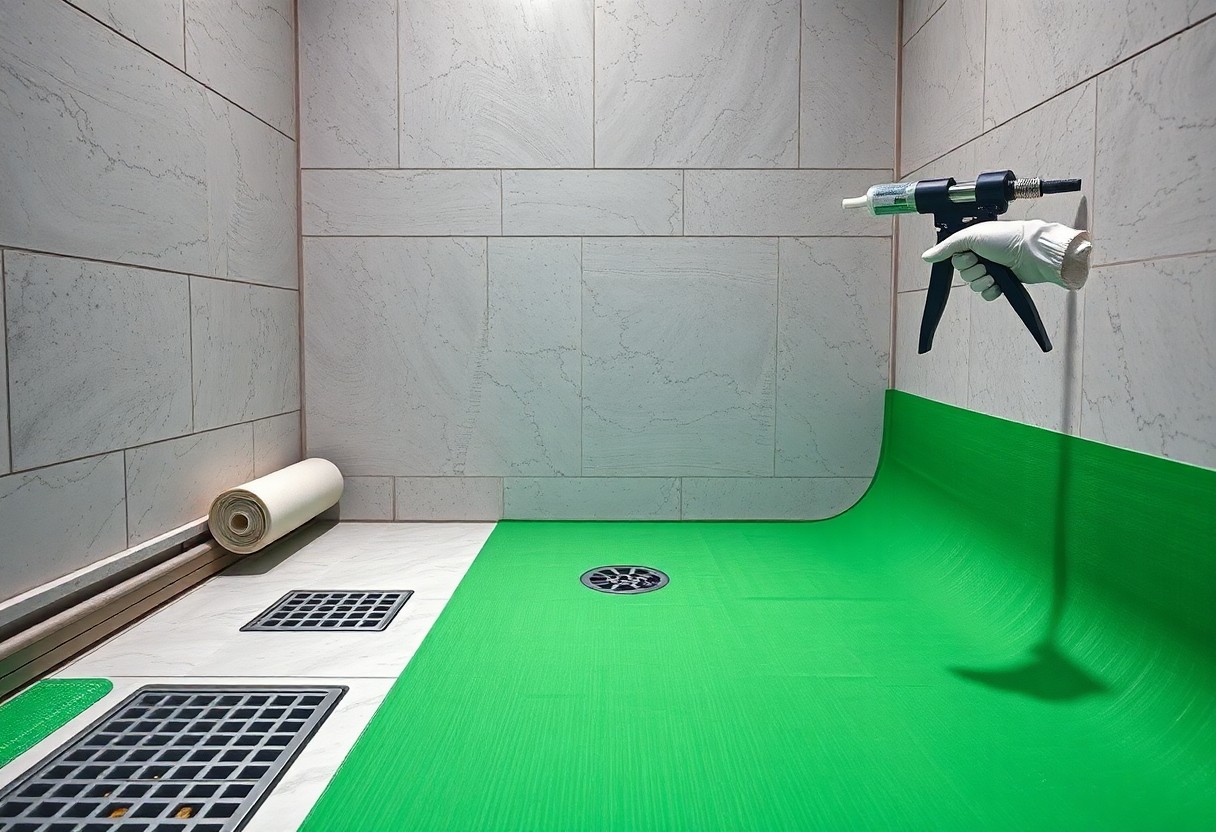
Use a combination of sheet or liquid-applied membranes, properly sealed shower trays and correctly sloped falls to channel water to outlets. Manufacturers often back membranes with 10-25 year guarantees; you should re-seal silicone and movement joints every 12-18 months and inspect for delamination after heavy use. Small signs such as warped tiles or soft grout signal early ingress that, if ignored, leads to costly substrate remediation.
Maintaining Structural Integrity
Water ingress raises timber moisture content above safe limits: sustained readings over 20% encourage fungal decay and can reduce joist load capacity, potentially causing sagging or failure. You must catch elevated moisture early – unresolved saturation commonly escalates repair bills into the £5,000-£10,000 range or higher when floor reconstruction and timber replacement are required.
Measure moisture with a reliable meter and log readings after showers and overnight; if levels stay above 20%, engage a specialist. Improve extraction to at least 15 l/s for intermittent ventilation in rooms with a shower, maintain membrane continuity at upstands and movement joints, and use competent installers following BS 5385 for tiling so your waterproofing protects both finishes and structural elements long-term.
Types of Waterproofing Solutions
You will typically choose between membrane systems, liquid applied, cementitious, bentonite and bituminous options depending on substrate, access and budget. Sheet membranes like EPDM and PVC often deliver 15-30 years service, while liquid systems cure in 24-72 hours. Installation errors account for most failures: seam failure, poor priming and resulting leaks that lead to mould.
- Membrane Systems
- Liquid Applied
- Cementitious
- Bentonite
- Bituminous
| Membrane Systems | Sheet or torch-on membranes (EPDM/PVC) for floors and walls; welded seams give continuity. |
| Liquid Applied | Polyurethane or polymer-modified cement coatings that form seamless barriers on irregular shapes. |
| Cementitious | Pre-mixed mortars used for wet areas; quick to apply but less flexible than polymers. |
| Bentonite | Swelling clay panels/gaskets used externally for below-ground tanks and foundations. |
| Bituminous | Asphalt-based membranes and coatings suited to cold roofs and external detail work. |
Membrane Systems
You should expect sheet membranes (EPDM, PVC) and self-adhesive variants to require accurate trimming and heat or adhesive welding at seams; installers typically aim for 50-100 mm laps and a minimum membrane thickness of 1.2-2.0 mm. In practice, poor seam preparation or movement at penetrations causes most failures, so you must insist on tested joints and certified installers to avoid seam failure and subsequent leaks.
Liquid Applied Waterproofing
You’ll find liquid systems ideal where geometry is complex: polyurethane or polymer-modified products achieve continuous coverage and adhere to irregular substrates, often applied in two coats to reach a dry film thickness of 1.5-3.0 mm. Surface preparation matters-contamination or damp substrates reduce adhesion-so you must follow primer and cure-time guidance to prevent delamination.
For practical performance, polyurethane liquids typically cost around £15-£40/m² installed and require 1.5-3.0 kg/m² coverage for two-coat systems; cementitious liquids are cheaper but less elastic. Case studies show correctly applied liquid membranes on tiled wet rooms resist moisture for over 10 years; conversely, poor priming often causes failures within months. Assume that you allow full cure and verify adhesion before tiling to avoid costly remediation.
Steps for Proper Waterproofing
You should follow a clear sequence: prepare the substrate, prime, apply your chosen membrane with appropriate overlaps, flash around drains and corners, and verify falls to 1:80-1:60 for shower drains. For liquid membranes apply two coats allowing ~24 hours between coats; sheet systems need at least 50 mm overlaps and adhesive compatible with the substrate. Finish by performing a 24-48 hour flood test to detect any leaks before tiling.
Surface Preparation
Start by stripping loose tile and adhesive so you have a sound, flat base; fill cracks wider than 2 mm with cementitious repair mortar and allow at least 24 hours cure. If using backer boards, fit 12 mm cement board with stainless fixings and seal screw heads, then apply manufacturer primer and allow the tack-free time (typically ~2 hours) before membrane application to ensure long-term adhesion.
Installation Techniques
Apply membranes up walls a minimum of 150 mm above finished floor level and use pre-formed corners or reinforcing fabric in junctions; seal pipe penetrations with purpose-made collars and always overlap sheets by 50 mm. For liquid systems apply two full coats to achieve the specified thickness, keeping a wet-film gauge or manufacturer coverage rate to verify you meet the required 1-2 mm cured thickness.
When installing, use the right tools: a notch trowel and polymer-modified thin-set for bonded sheet systems, and a roller or brush for liquid membranes. For small shower trays (e.g. 1.2 m × 0.9 m) buy an extra 10-15% of membrane to allow for overlaps and waste; test the finished assembly with a flood test and document drying times to preserve manufacturer warranties and avoid expensive water damage.
Common Mistakes in Waterproofing
Poor Surface Preparation
If you skip thorough cleaning and profiling, coatings and membranes will not bond properly; dust, grease, residual adhesive and loose tile cement commonly cause failures. You must remove powdery residues, repair cracks wider than a few millimetres and ensure substrates are free from rising damp or visible salts. Allow screeds and renders to dry to the manufacturer’s recommended level-failure to do so often leads to trapped moisture, mould growth and delamination.
Using Incompatible Materials
Choosing sealants, primers or adhesives that are not formulated for your membrane or wet-room use leads to bond failure and leaks; for example, solvent-based primers can attack certain bituminous membranes and non-waterproof tile adhesives will soften under constant wetting. Always select products explicitly rated for continuous moisture exposure and check the technical datasheets for compatibility between membrane, adhesive and tile-this prevents blistering, adhesive breakdown and premature failure.
In practice, you should cross-reference product system warranties and perform adhesion tests where possible; a common scenario sees a flexible sheet membrane paired with a rigid, non-flexible adhesive, causing joints to shear under movement within months. You can avoid costly rework by using manufacturer-approved systems (many offer 10-20 year system warranties) and consulting their compatibility charts before purchase and application.
Maintenance and Inspection
Schedule inspections every 3 months and after plumbing work or floods; you should scan grout lines, sealant and floor wastes and check for bubbling or discolouration. Mould can appear within 48 hours, and untreated leaks may produce structural decay within months. You might arrange an annual professional survey, as many insurers expect documented checks to maintain cover and may reduce long‑term repair costs.
Regular Checks for Moisture
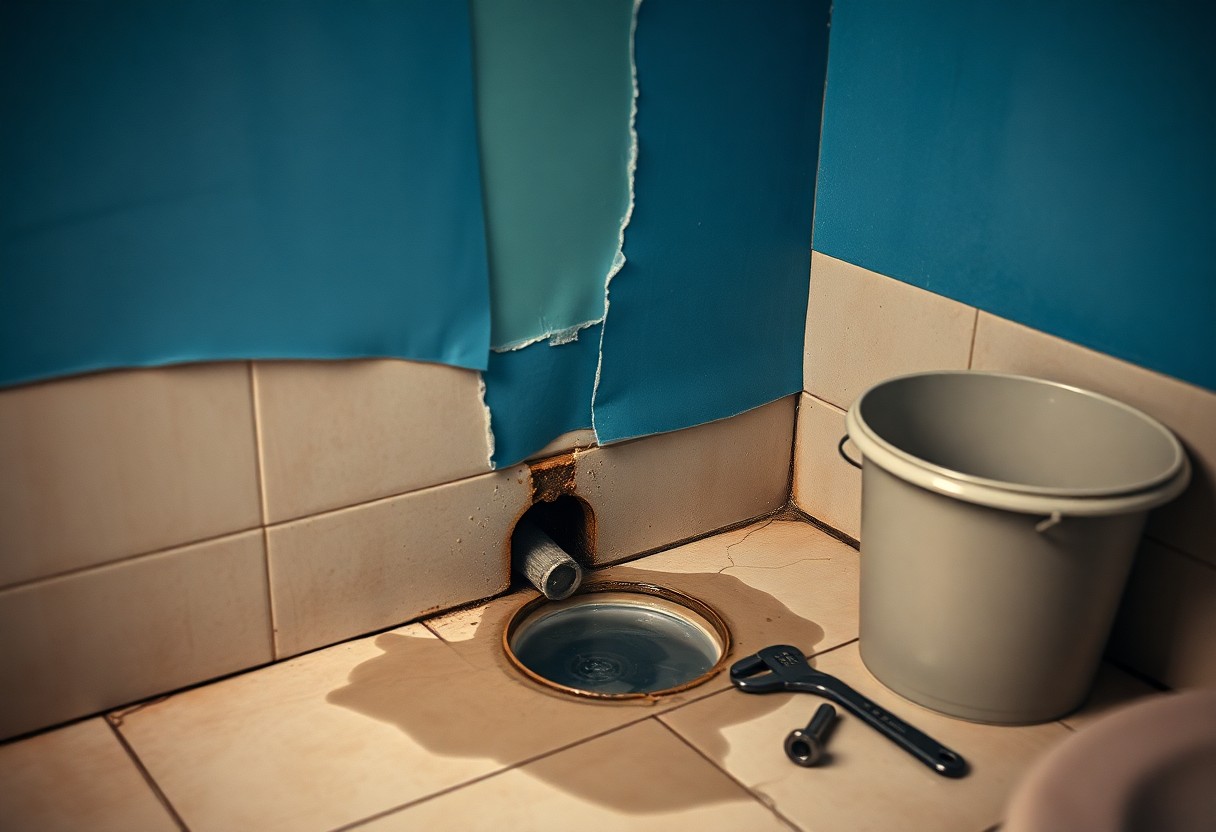
You should use a moisture meter to test plaster, tiles and timber; readings above 20% for wood or indoor relative humidity over 60% indicate concern. Inspect behind the toilet, under bath panels and around floor wastes every 3 months, probe grout and seals for softness, and log photos with dates to track trends and spot slow leaks before they escalate.
Addressing Issues Promptly
If you detect damp, discolouration, soft flooring or a persistent odour, isolate the water supply where possible and avoid using the shower or bath until the fault is assessed. Small leaks often worsen in 24-72 hours; secure a qualified plumber or tiling specialist within 48 hours. Temporary resealing with silicone can help, but do not mask ongoing leaks that require a proper repair.
You must act fast: one homeowner ignored a hairline grout crack for six months, resulting in rot and a £4,500 joist replacement, whereas early resealing would likely have cost under £150. You should photograph damage, keep receipts and obtain written quotes; many membrane manufacturers require certified installers and offer up to 10-year guarantees. Prioritise visible mould, sagging floors or persistent damp as the most dangerous problems-they demand professional assessment to avoid escalating repair bills.
Professional vs. DIY Waterproofing
Pros and Cons of Each Approach
You should weigh speed, warranty and compliance against cost and hands-on control; below is a concise comparison showing typical cost ranges, guarantees and risks so you can decide based on your bathroom size, skill and tolerance for risk.
Pros and Cons
| Professional | DIY |
|---|---|
| Trained installers with manufacturer-approved systems | Low material cost: typically £20-£200 for kits |
| Commonly offers 5-10 year warranties or insurance-backed guarantees | Usually no warranty; you carry liability for failures |
| Typical cost £500-£3,000 for a full bathroom depending on scope | Saves money upfront but may need rework if mistakes occur |
| Faster completion: 1-3 days for typical shower install | Longer time due to learning curve and drying times |
| Meets building regs and inspection requirements | Risk of non-compliance if you miss critical details |
| Lower chance of concealed leaks when done correctly | Higher risk of hidden leaks and future structural damage |
| Access to professional-grade membranes and warranties | Limited to consumer-grade products and generic instructions |
When to Hire a Professional
If your project involves a wet room, works below a concrete slab, moving waste plumbing, or you spot mould, persistent damp or soft joists, you should hire a pro; these situations commonly incur higher repair bills-often >£1,000-if handled incorrectly and may need structural assessment.
Ask for manufacturer approval, proof of insurance and a written warranty of at least 5 years; insist on a documented water test (typically a 24-72 hour flood test) and before/after photos so you have recourse if leaks develop.
To wrap up
Following this, you should ensure that waterproofing begins with correct substrate preparation and a certified membrane system, installed by a competent tradesperson; proper sealing around joints, fixtures and drains, adequate falls to drains, and effective ventilation will protect your structure and prevent mould. Carry out periodic inspections and address leaks promptly to maintain warranty and avoid costly repairs.
FAQ
Q: What is bathroom waterproofing and why is it important?
A: Bathroom waterproofing is the installation of a continuous barrier to stop water penetrating floors, walls and structural elements. It prevents water ingress that would otherwise cause tile delamination, rot in timber joists, rust in metalwork, mould growth and structural deterioration. Proper waterproofing protects the building fabric, reduces the risk of costly repairs and helps maintain indoor air quality by preventing persistent damp and mould.
Q: Which areas of a bathroom must be waterproofed and to what height?
A: Wet zones such as shower enclosures, wetrooms, areas immediately around baths and the floor across the whole bathroom must be waterproofed. Showers and wetrooms are usually waterproofed full height to the ceiling or at least above the shower head; walls behind baths and basins are typically waterproofed to a height of 150-200 mm above the rim where appropriate. Floors should receive a continuous membrane from wall-to-wall, terminating at skirting lines and up any abutments, ensuring proper falls to the drain. Always follow the membrane manufacturer’s guidance for specific height recommendations.
Q: What materials and methods are commonly used for bathroom waterproofing?
A: Common options include liquid-applied membranes (polymer-modified cementitious coatings or liquid rubber), sheet membranes (uncoupling or PVC/bituminous sheets), cementitious tanking slurries and proprietary tanking kits. Waterproof boards and membrane-backed plasterboard are used on walls, and specialised drains and channel systems manage flow. Sealing detail at pipe penetrations, movement joints and interfaces with fixtures using flexible sealants and tape or preformed corners is necessary. Selection should consider substrate compatibility, cure time, tile adhesive compatibility and whether the install is a retrofit or new build.
Q: Can a homeowner undertake waterproofing as a DIY job, or should a professional be hired?
A: Simple maintenance like re-siliconing joints or replacing grout can be done by a competent DIYer. However, installing a full tanking system, waterproofing complex wetrooms or integrating drainage and falls typically requires professional skills to ensure continuity of the membrane and correct detailing. Manufacturers often require certified installers for product guarantees; professional work also enables reliable flood-testing after installation. If confident in following product instructions, a well-prepared DIYer can succeed on small projects, but for complete wetrooms or multi-layer systems a specialist is recommended.
Q: How should waterproofing be maintained, inspected and repaired over time?
A: Inspect silicone seals, grout lines and tile adhesion annually; replace deteriorated silicone every 12-24 months and regrout cracked joints promptly. Signs of failure include persistent mould, soft or stained plaster, loose tiles or unexpected damp in rooms below. If a membrane failure is suspected, stop heavy use of the area, dry the space, and carry out a flood or water test to locate leaks. Minor local failures can sometimes be repaired with patching products, but large or concealed failures usually require removal of finishes and reinstallation of the membrane by a competent installer. Typical membrane lifespans vary-many last 10-25 years depending on product and wear-so keep product documentation and any installer guarantees for future reference.